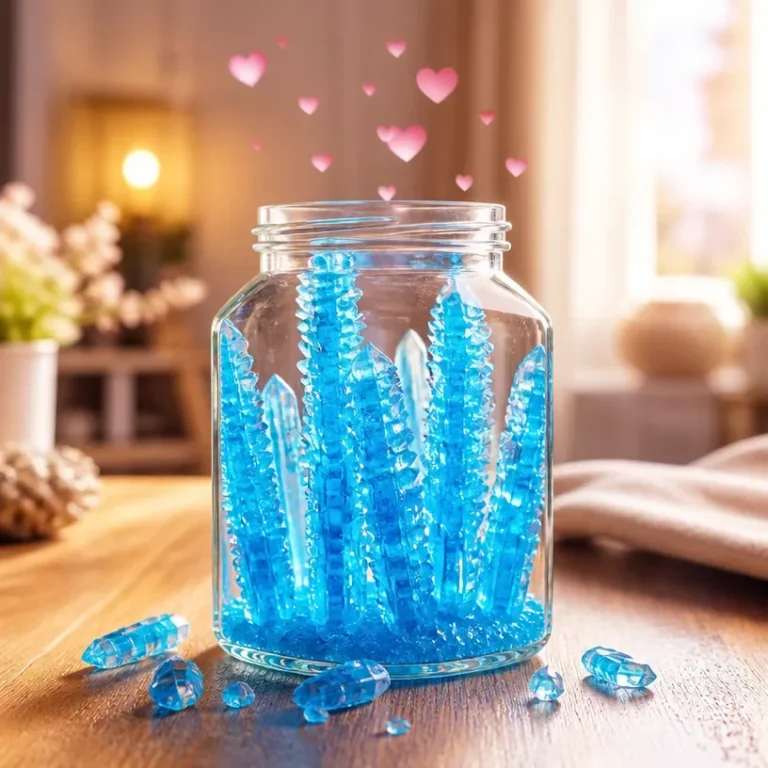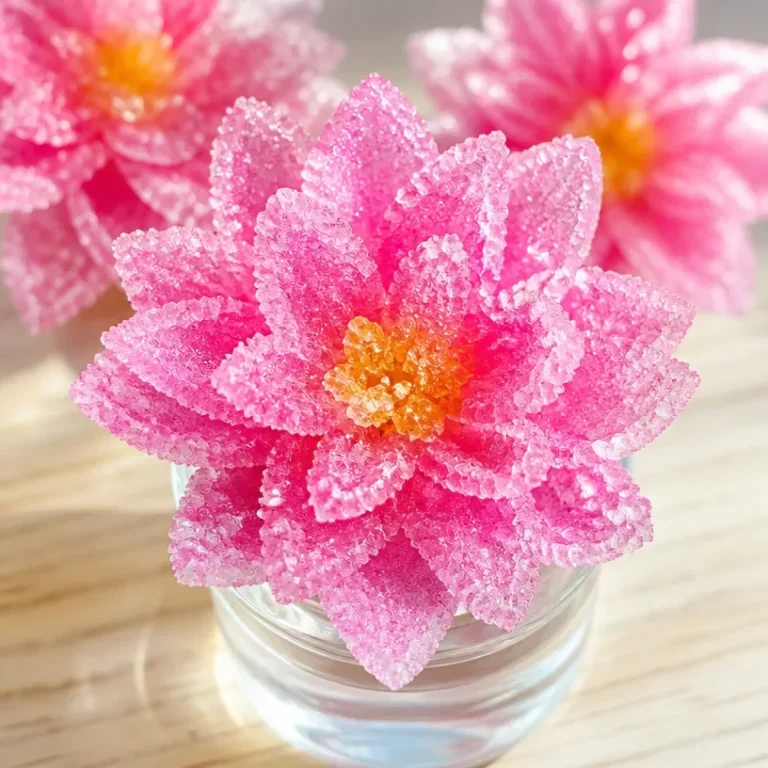


Magic Cool Ice Cubes – Colorful STEM Fun!
Get ready to explore the magic behind melting ice and color mixing with this engaging STEM activity! This experiment, Magic Cool Ice Cubes, combines colorful food coloring and simple household materials to teach children about physical changes and the beauty of science in action. As the ice melts, kids will witness fascinating patterns and color interactions. You may also find Colorful Science Art Easy Stem Crafts Kids useful.
Through this hands-on experience, children will develop observation skills while having fun. They will not only see colors spread across the ice but also learn how salt can affect the melting process. This makes for an entertaining and educational activity perfect for parents, educators, and anyone looking to inspire curiosity in children. If you’re interested in similar science activities, check out these colorful STEM activities.
Why You’ll Love This Science Activity
- Hands-on Learning: Kids can see science principles in action as they manipulate materials.
- Colorful Visuals: The vibrant food coloring creates beautiful patterns, piquing interest and engagement.
- Easy Setup: No complicated tools or materials are required, making it accessible for all.
- Educational Value: Children learn about states of matter, chemical reactions, and the effects of salt on ice.
- Creative Expression: This activity allows kids to create their unique art pieces with the colors.

You may also find Crystal Growing Experiment Easy Stem Activity Kids useful.
Materials You’ll Need
- Ice cube tray
- Water
- Blue food coloring
- Purple food coloring
- Small dropper or pipette
- Clear cup or small bowls
- Salt
- Freezer
- Tray or shallow dish
Each material plays a critical role in the experiment. The ice cubes serve as the canvas for the color mixing, while the food coloring adds vibrancy. Salt is used to demonstrate its effect on melting ice, creating a fascinating visual experience.

How to Do Magic Cool Ice Cubes – Colorful STEM Fun!
- First, fill the ice cube tray with water and place it in the freezer until the cubes are solid. This part takes a little patience, but it’s worth the wait!
- Once your ice cubes are ready, carefully place them on a tray or shallow dish. This will be your creative workspace.
- In small cups, mix a bit of blue and purple food coloring with water. These colorful concoctions will make your ice cubes come alive!
- Using a dropper, gently drip the colorful mixtures onto the ice cubes and watch the colors spread like magic!
- Sprinkle just a pinch of salt on top, and you’ll see the ‘magic cracks’ form as the colors begin to race through the ice. How exciting!
- Keep adding drops of color and enjoy the lovely patterns you create as the ice slowly melts away.
What Happens During the Experiment?
During this experiment, the ice cubes act as a medium for the food coloring. As you drop colors onto the ice, you’ll notice them spreading and mixing. The addition of salt speeds up the melting process, creating pathways for the colors to flow. Observing these changes is crucial to understanding the physical process of melting ice and diffusion of liquids.
How It Works: The Science Explained
This activity demonstrates several scientific concepts. When salt is added to ice, it lowers the freezing point of water, causing the ice to melt faster. As the colors diffuse through the melting ice, children can observe how fluids mix and interact. This visual representation helps solidify the understanding of physical changes in state, particularly how solids like ice turn into liquids.
Helpful Tips
- Visibility: Place the colored ice cubes on a white tray to enhance visibility.
- Hands-on Support: Supervise younger children while using the droppers to avoid spills.
- Experiment with Colors: Encourage mixing different colors to see new shades.
- Adding More Salt: Experimenting with varying amounts of salt can lead to different melting rates.
Easy Experiment Variations
- Different Colors: Use other colors of food coloring to see how they blend differently.
- Ice Shapes: Try using different molds for the ice cubes, like stars or hearts.
- Temperature Effects: Test the experiment with warm or room temperature water to observe differing melting speeds.
- Layered Colors: Freeze colored water in layers to create a multi-colored ice cube.
Doing This Experiment With Kids
This activity is safe and enjoyable for children and is an excellent way to teach them about science. However, adult supervision is advised, especially when handling the dropper to avoid any mess. Additionally, monitor the use of salt around small children to ensure it doesn’t get ingested.
What Kids Can Learn
Through this experiment, children learn about the physical properties of water and ice. They gain valuable observation skills as they watch how temperature and solubility interact. Encouraging questions such as “What happens if we add more salt?” or “How do the colors mix?” can lead to deeper understanding and curiosity about science.

Frequently Asked Questions
1. How long does it take for the ice cubes to freeze?
It typically takes about 4-6 hours for ice cubes to freeze completely, depending on your freezer settings.
2. Can we use other liquids besides water?
Using other liquids may not yield the same effects, as water’s properties are essential for this experiment.
3. What if the colors don’t spread much?
Ensure that the ice cubes are adequately frozen and that sufficient salt is used to facilitate melting.
4. Is it safe for young children to do this experiment?
Yes, this experiment is safe for children, but adult supervision is recommended during the activity.
5. How can we make it more colorful?
Experimenting with different shades of food coloring or using edible glitter can enhance the visual experience.
6. What science concepts can we explore further?
Discuss with children about chemical reactions vs. physical changes, states of matter, and the concept of solutions.
Conclusion
This Magic Cool Ice Cubes experiment is an exciting way for children to explore science while having fun! It allows them to witness firsthand how colors mix and how varying conditions affect ice. For more engaging summer activities, check out this fun water experiment that combines elements of fun and learning!
Explore more DIY science projects and hands-on STEM ideas.

Magic Cool Ice Cubes
Would you like to save this project?
By submitting you agree to receive this project and occasional emails. Unsubscribe anytime.
Materials
For the Experiment
- 1 tray Ice cube tray For freezing water into ice cubes.
- 2 cups Water To fill the ice cube tray.
- 1 bottle Blue food coloring To create color effects.
- 1 bottle Purple food coloring To create color effects.
- 1 pinch Salt To demonstrate its effect on melting ice.
- 1 dropper Small dropper or pipette To apply the food coloring.
- 1 cup Clear cup or small bowls For mixing colored water.
- 1 tray Tray or shallow dish To place the colored ice cubes for viewing.
Directions
Preparation
- Fill the ice cube tray with water and place it in the freezer until the cubes are solid (approx. 4-6 hours).
- Once the ice cubes are frozen, carefully place them on a tray or shallow dish to use as your creative workspace.
Color Mixing
- In small cups, mix a bit of blue and purple food coloring with water.
- Using a dropper, gently drip the colorful mixtures onto the ice cubes and watch the colors spread.
- Sprinkle a pinch of salt on the ice cubes to see the colors move and create patterns.
- Continue adding drops of color to enjoy and create fantastic patterns as the ice melts.
Last Step: Don’t forget to leave a rating and comment below! It helps other readers find the best DIY projects — and it helps us too!