
Crystal Growing Experiment
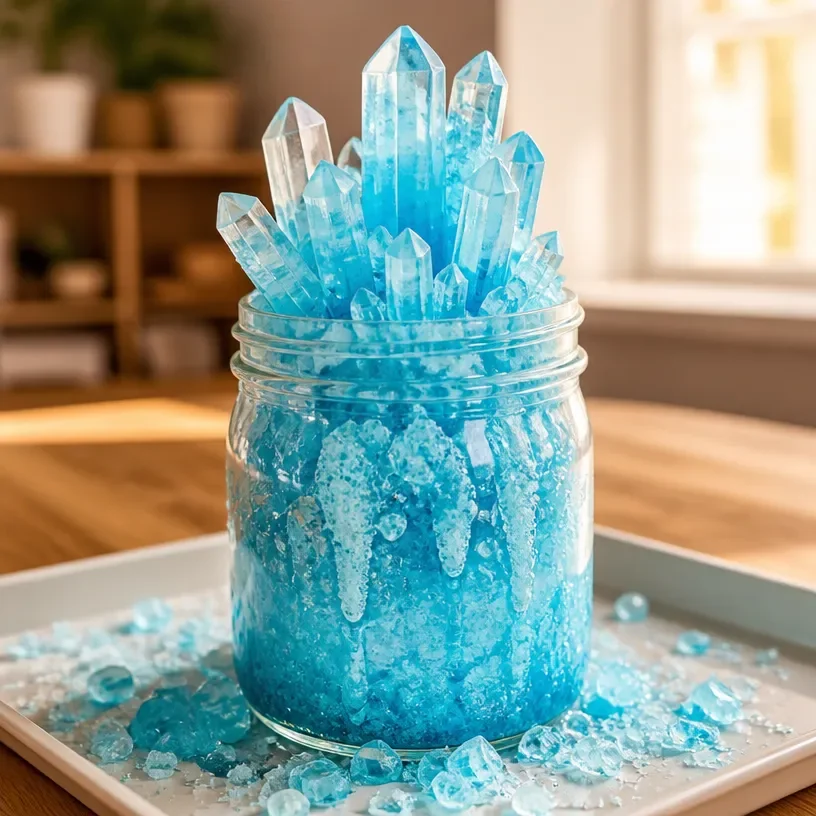
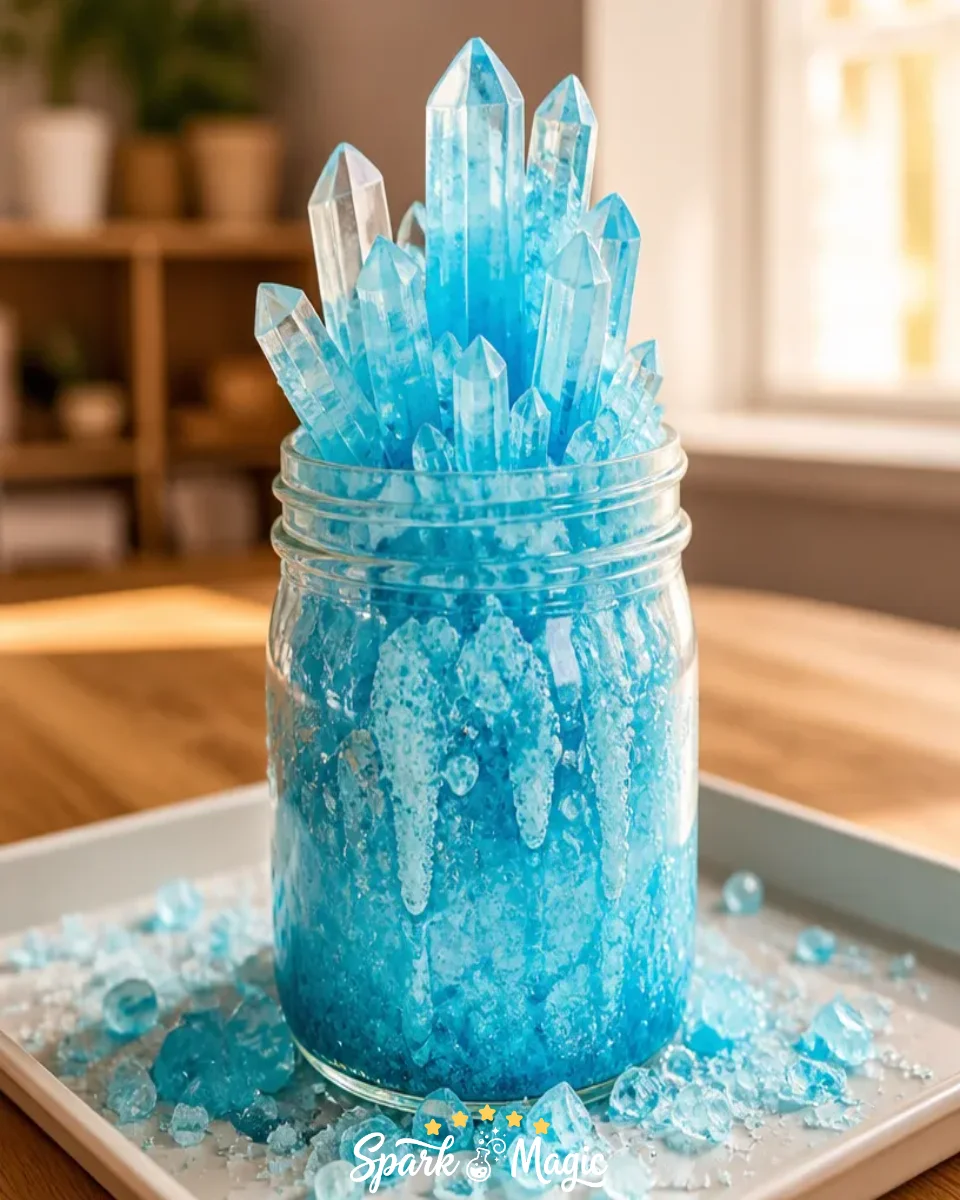
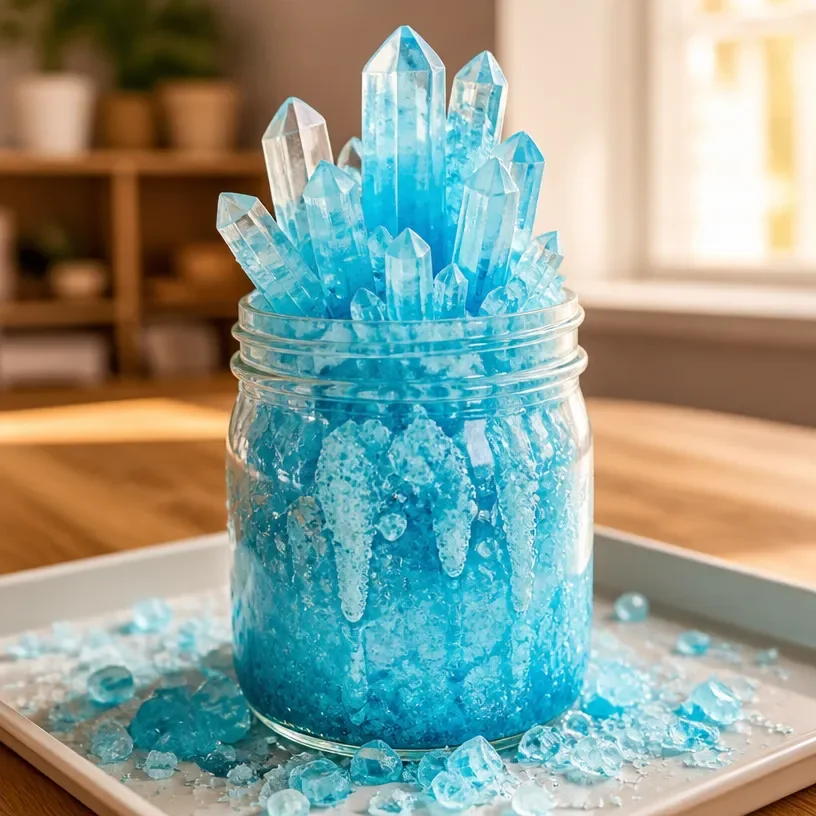
Have you ever wanted to witness the fascinating process of crystal formation? This crystal growing experiment combines simple household materials to create stunning results right before your eyes. By engaging in this hands-on activity, children can explore science and learn about chemical reactions in a fun and memorable way. You’ll observe how baking soda and vinegar interact to create mesmerizing bubble-like formations, eventually leading to the creation of beautiful crystals. You may also find Cloud In A Jar Easy Science Experiments For Kids useful.
In addition to being an enjoyable activity, it’s an excellent way to introduce kids to basic scientific concepts. If your little ones enjoy experiments, they might also be fascinated by our Rainbow Crystal Garden project, where they can create vibrant, colorful crystals using different materials.
Why You’ll Love This Science Activity
- Educational Insight: Kids learn about chemical reactions and the properties of materials.
- Visual Appeal: The bubbling and crystal formations are visually captivating and stimulating for young minds.
- Easy Setup: The materials are common household items, making it quick and convenient to prepare.
- Creative Expression: Adding food coloring lets children express their creativity and personalize their experiment.
- Family Bonding: It’s a perfect opportunity for parents or educators to interact while learning together.
Materials You’ll Need
- Clear glass jar
- Baking soda (3–5 tablespoons)
- White vinegar (1/2 cup)
- Warm water
- Food coloring (optional)
- Spoon
- Tray or plate (to catch overflow)
In this experiment, the baking soda acts as a base while the white vinegar serves as an acid, initiating an exciting reaction. The warm water helps dissolve the baking soda, allowing for better absorption of the vinegar.
How to Do Crystal Growing Experiment
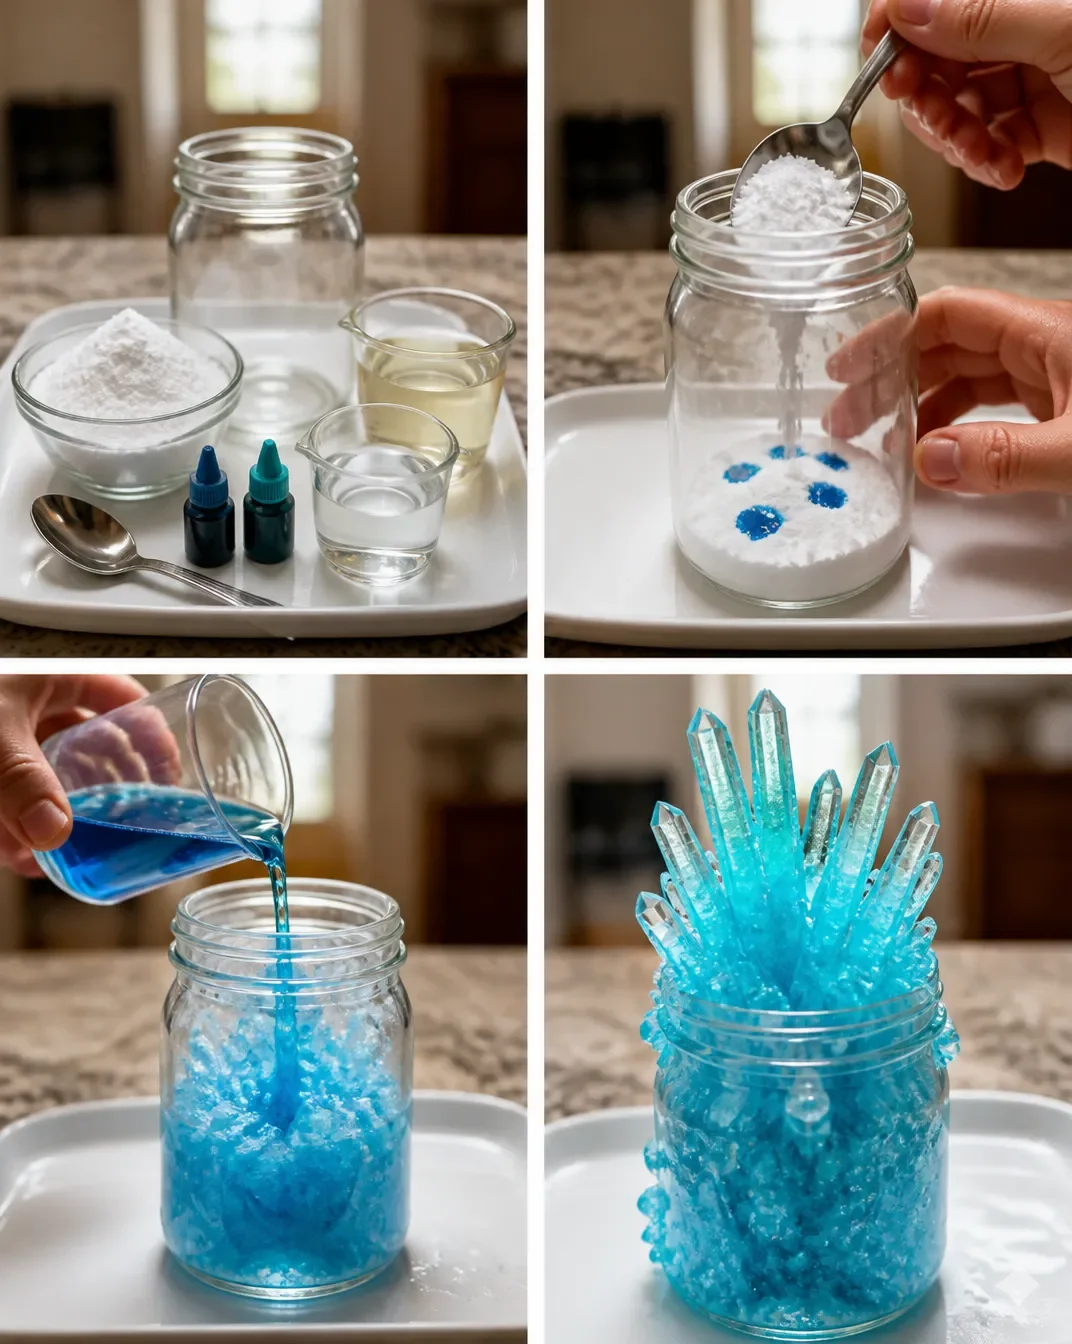
- Begin by filling the bottom of your jar with 3–5 tablespoons of baking soda. Gently tap it to spread it evenly, and if you’d like, add a few drops of food coloring for a whimsical touch.
- Next, slowly pour warm water into the jar until the baking soda is just soaked, ensuring it maintains a thick, slushy texture.
- In a small cup, pour 1/2 cup of vinegar and mix in food coloring if you wish, then stir it well.
- Carefully place your jar on a tray, and with a steady hand, pour the colored vinegar into the jar. Watch the beautiful bubbling and foamy ‘crystal-like’ structures spring to life!
- For even larger crystal formations, once the bubbling slows down, add more baking soda and then pour in more vinegar. You can repeat this step a few times to build taller creations.
- Finally, leave the jar uncovered for 12-24 hours, allowing the textured shapes to harden as the liquid evaporates, revealing the magical crystals that you’ve nurtured. Make a memory today, not just a mess.
What Happens During the Experiment?
As you add vinegar to the baking soda, you’ll notice a fizzing reaction. This occurs because the acid (vinegar) reacts with the base (baking soda) to produce carbon dioxide gas, creating bubbles. As the reaction slows, you’ll see the formation of crystal structures as the mixture dries and the water evaporates. These fascinating results demonstrate the transformation of matter through a chemical reaction.
How It Works: The Science Explained
In this experiment, the interaction between baking soda and vinegar results in a chemical reaction that produces carbon dioxide gas and water. The vinegar’s acetic acid neutralizes the sodium bicarbonate (baking soda), and the resulting effervescence is visible as bubbles. When you leave the mixture alone, the water eventually evaporates, and the leftover material forms crystalline structures. This experiment is a perfect example of a physical change where you can observe both a chemical reaction and the formation of solids from liquids.
Helpful Tips
- Preparation: Ensure the materials are readily available before starting the experiment.
- Visibility: Use a clear glass jar to better observe the chemical reactions and crystal formations.
- Adult Supervision: Small children may need help when pouring vinegar or managing the tray to prevent spills.
- Avoid Mistakes: Make sure not to oversaturate the baking soda with water; it should remain thick and slushy.
Easy Experiment Variations
- Change Colors: Use different food coloring combinations for vibrant variations in your crystals.
- Add More Baking Soda: Try adding various quantities of baking soda to see how it changes the size of the crystals.
- Different Containers: Experiment in various shaped containers (like cups or bowls) to observe how the crystal formations differ.
Doing This Experiment With Kids
This experiment is suitable for children, but it’s recommended that adult supervision is provided, especially during the pouring steps. It’s crucial to ensure children understand not to ingest any materials used. Always remind them about the importance of safety when conducting experiments.
What Kids Can Learn
This crystal growing experiment teaches children about chemical reactions, observation skills, and patience as they wait for the crystals to form. Encourage them to ask questions such as, “What do you think will happen if we add more vinegar?” or “How do the crystals change as they dry?” This can spark further curiosity and scientific thinking.
Frequently Asked Questions
What type of crystals will form?
You will see structures that resemble crystals. The shapes depend on the reaction and the amount of materials used.
Can I use a different container?
Yes, you can try using different jars or bowls, but ensure they are made of clear material for the best viewing experience.
What should I do if the reaction is too bubbly?
You can add the vinegar slowly to manage the reaction and minimize overflow.
How long should I wait to see the crystals?
Leave the jar uncovered for 12-24 hours for the best results.
Can I use other amounts of baking soda or vinegar?
Certainly, experimenting with different volumes can yield unique results!
Is this experiment safe for young children?
Yes, but adult supervision is recommended since it involves pouring and handling materials.
Conclusion
Gather your materials and explore the enchanting world of crystals with this engaging experiment. Not only does it offer a hands-on scientific experience for kids, but it also invites them to ponder the wonders of chemistry. For similar experiments, consider visiting STEM Experiment: Grow Your Own Crystals for additional insights and activities. Happy experimenting!
Explore more DIY science projects and hands-on STEM ideas.

Crystal Growing Experiment
Would you like to save this project?
By submitting you agree to receive this project and occasional emails. Unsubscribe anytime.
Materials
Materials Needed
- 1 piece Clear glass jar Use a clear jar for better visibility.
- 3-5 tablespoons Baking soda Acts as a base in the experiment.
- 1/2 cup White vinegar Serves as the acid that reacts with baking soda.
- 1 cup Warm water Helps dissolve the baking soda.
- optional Food coloring For color variations in crystals.
- 1 piece Spoon For mixing ingredients.
- 1 piece Tray or plate To catch any overflow during the reaction.
Directions
Preparation
- Fill the bottom of the jar with 3-5 tablespoons of baking soda, tapping it gently to spread evenly. Add food coloring if desired.
- Slowly pour warm water into the jar until the baking soda is just soaked, maintaining a thick, slushy texture.
Mixing
- In a small cup, pour 1/2 cup of vinegar and mix in food coloring if you wish, then stir well.
- Carefully pour the colored vinegar into the jar containing baking soda, watching for bubbling and foamy structures.
Observation
- After the initial bubbling slows down, for larger crystals, add more baking soda and pour in more vinegar as needed.
- Leave the jar uncovered for 12-24 hours, allowing the liquid to evaporate and form crystals.
Last Step: Don’t forget to leave a rating and comment below! It helps other readers find the best DIY projects — and it helps us too!