
Crystal Growing Flower
Creating beautiful crystalline flowers is an exciting science experiment that allows kids and adults alike to explore the captivating world of chemistry. This hands-on activity not only reveals the wonders of crystal growth but also teaches invaluable scientific principles. Throughout the experiment, participants will observe how common materials transform into colorful, crystalline structures, leaving them amazed by the results of their efforts. You may also find Rainbow Crystal Garden Science Experiment Kids useful.
In this guide, you will learn to craft stunning crystal flowers using simple household materials. This experiment is perfect for families, classrooms, or anyone interested in exploring the science of crystals.
Why You’ll Love This Science Activity
- Captivating Visuals: Watch as your paper petals transform into vibrant crystalline flowers, sparking creativity and wonder.
- Educational Value: Understand crystallization through hands-on participation, reinforcing concepts in a fun and engaging way.
- Easy to Follow: With clear instructions and everyday materials, it’s accessible for all ages and skill levels.
- Promotes Science Interest: Great for encouraging kids to explore STEM topics further, inspiring future scientists.
- Customizable Results: You can alter the colors or shapes of the petals for unique outcomes, enhancing artistic expression.

Materials You’ll Need
- White or light-colored absorbent paper (coffee filters or paper towels) – to create the petals.
- Alum powder or a crystal-growing packet – essential for forming the crystals.
- Hot water (nearly boiling) – needed to dissolve the alum.
- Spoon for stirring – for mixing the solution.
- Small scissors – used to cut petal shapes.
- Measuring spoons or a kitchen scale – for measuring ingredients accurately.
- Food coloring or watercolor (optional) – for adding color to your crystals.
- Tweezers or chopsticks – to handle the petals during dipping.
- Paper towel or tray to protect your work surface – to catch any spills.
- Small clip or clothespin (optional) – for holding petals while dipping.
- Safety items: oven mitts or heat-resistant gloves – for handling hot water.

How to Do Crystal Growing Flower
- Prepare Your Petals: Start by cutting the paper into petal shapes that you desire for your flower.
- Make the Crystal Solution: Measure about two parts hot water to one part alum. Stir the mixture until most of the alum has dissolved.
- Pour the Solution: Pour the hot solution into a clear jar until it fills about two-thirds full, and let it cool down slightly.
- Attach the Petals: Use tweezers or a clip to attach the petals for dipping into the solution.
- Dip the Petal: Carefully dip each petal into the solution, allowing the tip to stay just above the liquid for gradient growth.
- Set the Jar: Place the jar in a steady spot, away from drafts and direct sunlight, to promote even crystal growth.
- Observe: Watch the first few hours for tiny crystalline seeds starting to form. It’s best to check gently and infrequently.
- Mature the Crystals: Allow the crystals to grow for two to five days, depending on how dense you want them to be.
- Remove and Dry: After the desired growth time, carefully remove the petals and place them on a protective tray to dry.
- Seal or Display: Optionally, you can seal the crystals with a light coat of craft sealer for preservation before displaying.
- Clean Up: Lastly, responsibly clean up the workspace by diluting leftover solution before disposal.
What Happens During the Experiment?
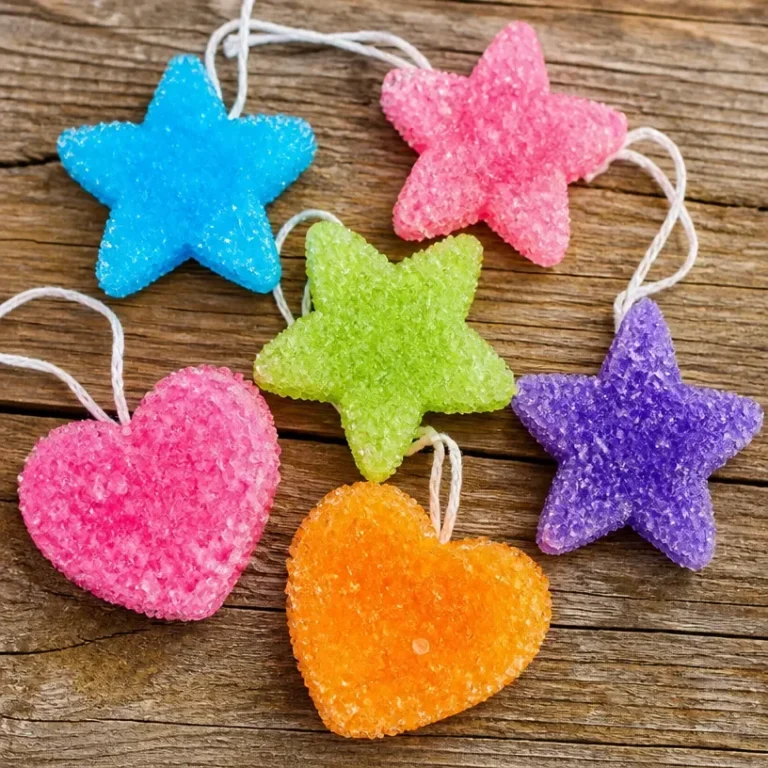
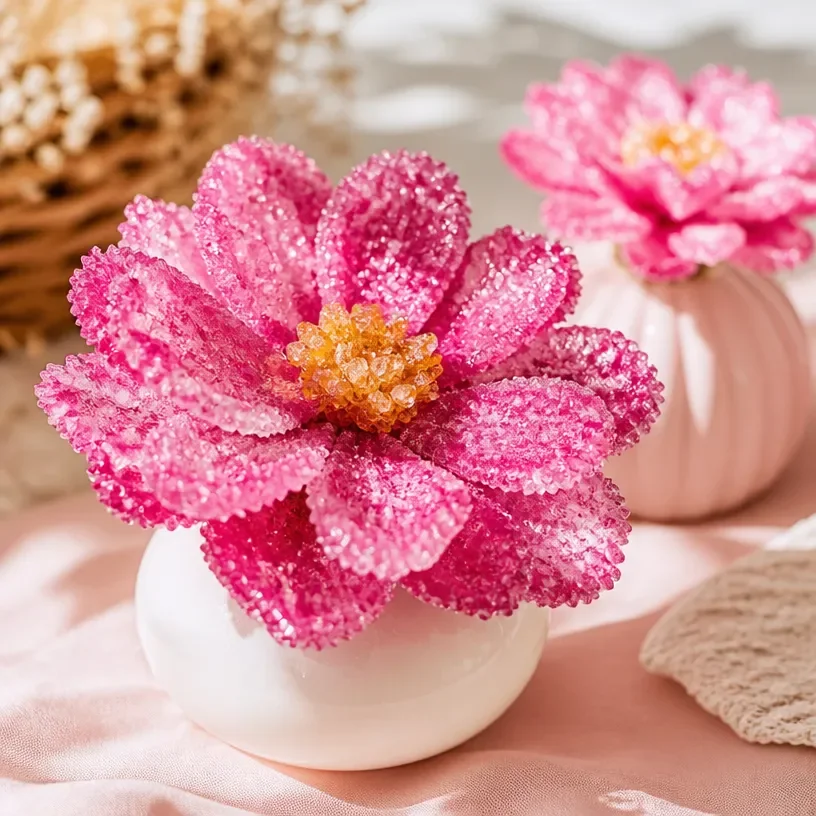
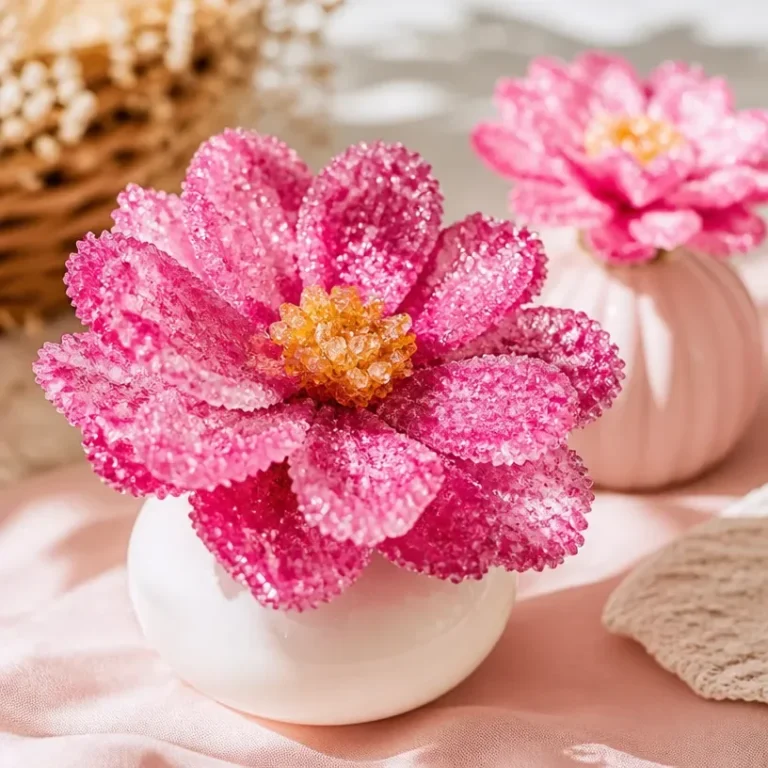
As you conduct the experiment, you should notice the formation of small crystal seeds on the petals shortly after immersing them in the alum solution. As the water evaporates over the following days, these seeds will grow into more prominent, colorful crystals. The process is dynamic, and you’ll see changes in size and color, which can vary based on the temperature and concentration of the solution used.
How It Works: The Science Explained
In this experiment, we are observing crystallization, a physical change where dissolved particles come together to form solid crystals. When hot water is mixed with alum, it dissolves because of the increased temperature. As the water cools and evaporates, the solid particles begin to come together, forming beautiful crystal structures on your petals.
The rapid temperature changes and evaporation rates also influence the size and appearance of the crystals. Lower temperatures can lead to larger crystals, while quicker evaporation often results in many small crystals.
Helpful Tips
- Preparation: Make sure to cut your petals before starting the crystal solution to ensure they are dry and ready to dip.
- Visibility: If you want vibrant colors, add food coloring to the crystal solution before dipping.
- Stability: It’s crucial to place the jar in a stable location to ensure even growth without disturbances.
- Timing Check: Avoid checking the crystals too frequently, and instead, observe their growth at intervals to prevent disruptions.
- Safety Precautions: Always use heat-resistant gloves when handling hot water to avoid burns.
Easy Experiment Variations
- Color Experiment: Try using different food coloring combinations to see how it affects the final appearance of your crystals.
- Size Comparison: Experiment with varying amounts of alum and hot water to see how it alters the size and density of the crystals.
- Petal Shapes: Cut petals of different shapes and sizes to experience how each variation affects crystal growth.
- Gradient Effects: Dip the petal tips at different depths to achieve gradient colors as the crystals grow.
- Multi-Layering: Create multiple layers of petals or colors by letting one layer dry before adding another.
Doing This Experiment With Kids
This project is highly suitable for children, with some steps requiring adult supervision. Use care when handling hot water and sharp scissors. It’s also important to guide young children in watching for crystal growth, ensuring they understand to check the results gently to avoid disrupting the process.
What Kids Can Learn
This experiment offers a wealth of learning opportunities, including understanding the process of crystallization, the impact of temperature on solubility, and fostering observation skills. Encourage kids to ask questions about why crystals form and how variations in their environment can affect formation outcomes.

Frequently Asked Questions
1. How long does it take for the crystals to form?
Crystals typically begin forming within a few hours, but full growth can take anywhere from two to five days.
2. What should I do if no crystals are forming?
Ensure the solution is saturated with alum, and the environment is stable. Sometimes, creating multiple crystals can help.
3. Can I reuse the crystal-growing solution?
It’s best to prepare a fresh batch for each new experiment to ensure the best results.
4. What happens if the solution cools too much?
If it cools too quickly before dipping, the alum may not dissolve enough, resulting in fewer or smaller crystals.
5. Is this experiment safe?
Yes, but adult supervision is recommended when handling hot water and tools like scissors.
6. How can I display my crystal flowers?
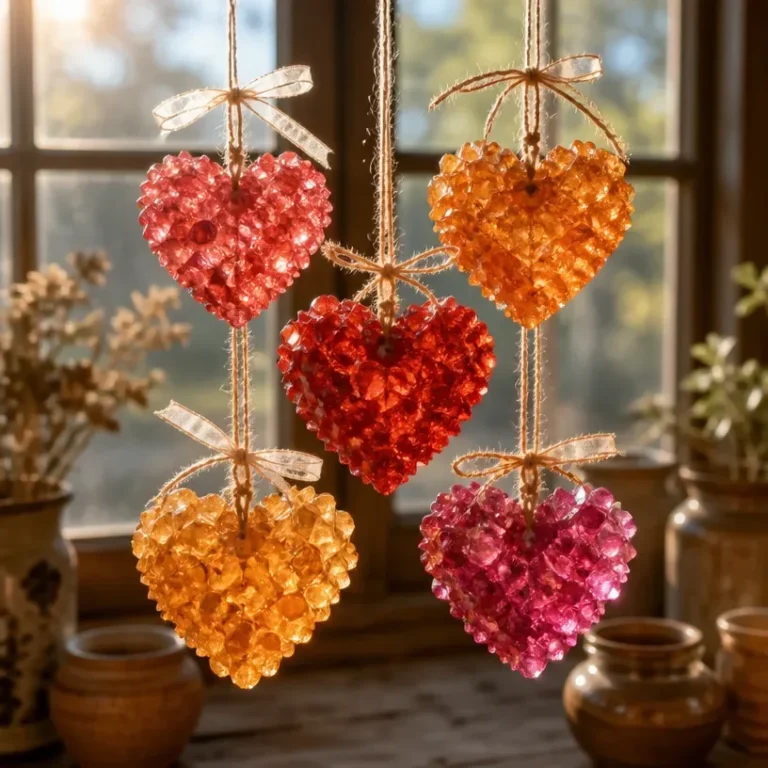
You can seal them with a craft sealer and place them in a decorative jar or hang them as part of a display.
Conclusion
Experimenting with the crystal-growing flower project is an inspiring way to delve into the world of chemistry and crystallization. For further exploration on similar topics, you might find the process outlined in Flower Crystallization fascinating and a great addition to your science activities!
Explore more DIY science projects and hands-on STEM ideas.
Crystal Growing Flower Experiment
Would you like to save this project?
By submitting you agree to receive this project and occasional emails. Unsubscribe anytime.
Materials
Materials for Crystal Growth
- 1 piece White or light-colored absorbent paper (coffee filters or paper towels) To create the petals.
- 1 cup Alum powder or a crystal-growing packet Essential for forming the crystals.
- 2 parts Hot water (nearly boiling) Needed to dissolve the alum.
- 1 spoon Spoon for stirring For mixing the solution.
- 1 piece Small scissors Used to cut petal shapes.
- 1 set Measuring spoons or a kitchen scale For measuring ingredients accurately.
- optional as desired Food coloring or watercolor For adding color to your crystals.
- 1 piece Tweezers or chopsticks To handle the petals during dipping.
- 1 piece Paper towel or tray To protect your work surface.
- optional 1 Small clip or clothespin For holding petals while dipping.
- 1 pair Safety items (oven mitts or heat-resistant gloves) For handling hot water.
Directions
Preparation
- Cut the paper into petal shapes that you desire for your flower.
Making the Crystal Solution
- Measure two parts hot water to one part alum. Stir the mixture until most of the alum has dissolved.
Dipping the Petals
- Pour the hot solution into a clear jar until it fills about two-thirds full, and let it cool down slightly.
- Attach the petals using tweezers or a clip for dipping into the solution.
- Carefully dip each petal into the solution, allowing the tip to stay just above the liquid for gradient growth.
Setting and Observing Crystals
- Place the jar in a steady spot, away from drafts and direct sunlight, to promote even crystal growth.
- Watch the first few hours for tiny crystalline seeds starting to form. Check gently and infrequently.
Maturation and Display
- Allow the crystals to grow for two to five days, depending on how dense you want them to be.
- After the desired growth time, carefully remove the petals and place them on a protective tray to dry.
- Optionally, seal the crystals with a light coat of craft sealer for preservation before displaying.
Clean Up
- Clean up the workspace responsibly by diluting leftover solution before disposal.
Last Step: Don’t forget to leave a rating and comment below! It helps other readers find the best DIY projects — and it helps us too!