Would you like to save this project?
By submitting you agree to receive this project and occasional emails. Unsubscribe anytime.
Materials
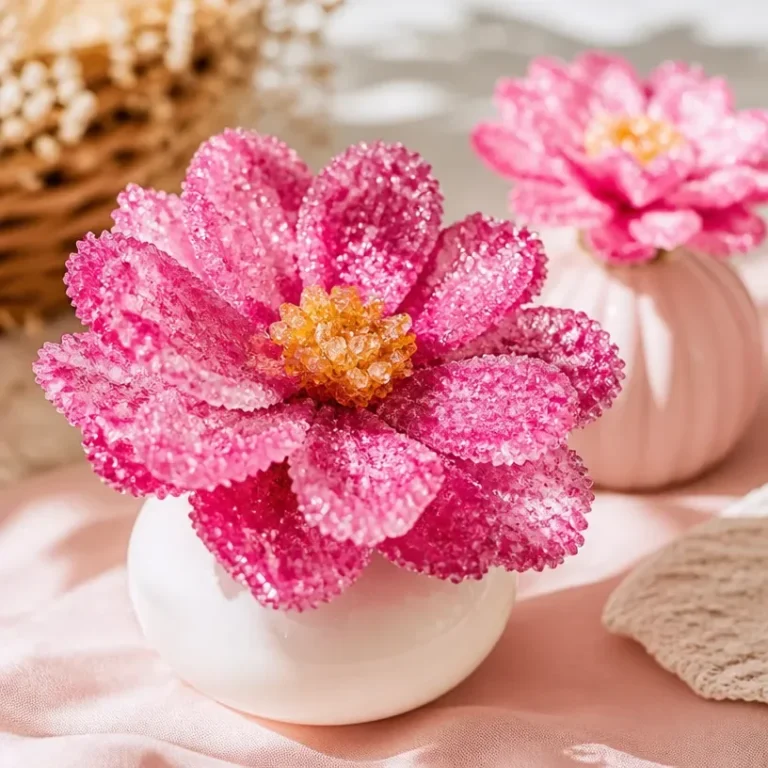
Materials for Crystal Growth
- 1 piece White or light-colored absorbent paper (coffee filters or paper towels) To create the petals.
- 1 cup Alum powder or a crystal-growing packet Essential for forming the crystals.
- 2 parts Hot water (nearly boiling) Needed to dissolve the alum.
- 1 spoon Spoon for stirring For mixing the solution.
- 1 piece Small scissors Used to cut petal shapes.
- 1 set Measuring spoons or a kitchen scale For measuring ingredients accurately.
- optional as desired Food coloring or watercolor For adding color to your crystals.
- 1 piece Tweezers or chopsticks To handle the petals during dipping.
- 1 piece Paper towel or tray To protect your work surface.
- optional 1 Small clip or clothespin For holding petals while dipping.
- 1 pair Safety items (oven mitts or heat-resistant gloves) For handling hot water.
Directions
Preparation
- Cut the paper into petal shapes that you desire for your flower.
Making the Crystal Solution
- Measure two parts hot water to one part alum. Stir the mixture until most of the alum has dissolved.
Dipping the Petals
- Pour the hot solution into a clear jar until it fills about two-thirds full, and let it cool down slightly.
- Attach the petals using tweezers or a clip for dipping into the solution.
- Carefully dip each petal into the solution, allowing the tip to stay just above the liquid for gradient growth.
Setting and Observing Crystals
- Place the jar in a steady spot, away from drafts and direct sunlight, to promote even crystal growth.
- Watch the first few hours for tiny crystalline seeds starting to form. Check gently and infrequently.
Maturation and Display
- Allow the crystals to grow for two to five days, depending on how dense you want them to be.
- After the desired growth time, carefully remove the petals and place them on a protective tray to dry.
- Optionally, seal the crystals with a light coat of craft sealer for preservation before displaying.
Clean Up
- Clean up the workspace responsibly by diluting leftover solution before disposal.
Last Step: Don’t forget to leave a rating and comment below! It helps other readers find the best DIY projects — and it helps us too!
Tips & Notes:
Ensure the jar is in a stable location for even growth. Always use heat-resistant gloves to avoid burns.