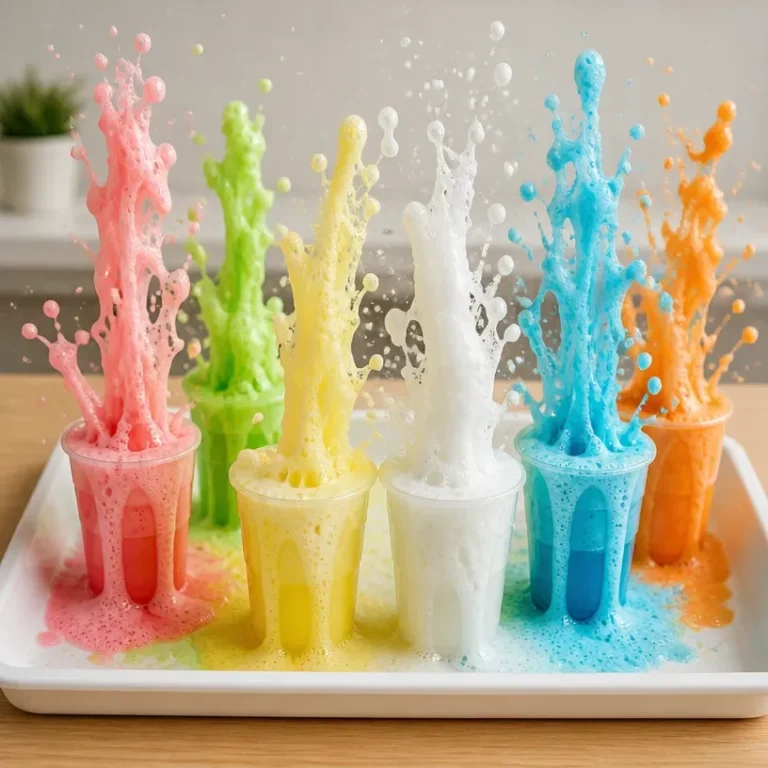


Rainbow Crystal Growing Experiment
The Rainbow Crystal Growing Experiment is a fun and colorful way to learn about the science behind crystallization. This hands-on activity is not only engaging but also educational, as it allows children to observe how crystals form over time. By using simple materials often found at home, families can explore the wonders of science together. You may also find Rainbow Crystal Garden Science Experiment Kids useful.
During this project, you’ll witness the magical transformation of liquid solution into beautiful, shimmering crystals. This experiment teaches key concepts in science, such as solubility and crystal growth. Plus, it encourages children to be patient and observe the changes that occur over several days. You may also find Cloud In A Jar Easy Science Experiments For Kids useful.
Why You’ll Love This Science Activity
- Visual Appeal: Children will be fascinated by the vibrant colors of the growing crystals.
- Educational Value: This experiment provides insight into the scientific process of crystallization.
- Hands-On Learning: Kids can actively participate in each step and make their observations.
- Multi-Color Option: Experiment with different colors using food coloring for a spectacular visual effect.
- Simple Materials: The supplies are easy to find and often available at home.

Materials You’ll Need
- Water, clean and filtered if possible
- Table salt or borax
- Clear jar for each color
- Food coloring or liquid watercolors (optional)
- Wooden skewers or pipe cleaners
- Spoon for stirring, heat-safe
- Small pot or electric kettle
- Small mesh strainer or coffee filter (optional)
- Measuring cup and spoons
- Labels or masking tape and a marker
- A tray or towel to protect surfaces
- Adult supervision if children are involved

How to Do Rainbow Crystal Growing Experiment
- Prepare your workspace with a towel or tray to catch any spills.
- Heat the water until it’s warm to hot, but not boiling, to ensure safe handling.
- Measure the water and gradually add the solute (table salt or borax), stirring continuously until dissolved.
- Add food coloring to each jar and stir gently to mix for vibrant crystals.
- Shape a pipe cleaner or skewer into a hanger to suspend in the jar.
- Pour the warm solution carefully into each jar to avoid splashes.
- Lower the hanger slowly into the colored solution without touching the bottom of the jar.
- Cover each jar loosely with a paper towel to prevent dust from entering.
- Place the jars in a quiet, stable spot away from direct sunlight.
- Observe the crystals daily, noting any changes without rushing the process.
- When crystals look substantial, gently remove the hanger from the jar.
- Let the finished crystals air dry on a towel for about an hour.
- Consider a light spray of matte finish for preservation, if desired.
- Reflect on the process and discuss any surprises or questions that arose during the experiment.
What Happens During the Experiment?
As the solution cools, the solute (salt or borax) starts to crystallize. This happens because the water can only hold a certain amount of solute at a temperature. As the water evaporates, the solution becomes supersaturated, leading to the formation of solid crystals. You may observe different shapes and sizes depending on how the mixture cools and how long you allow the crystals to grow.
How It Works: The Science Explained
The Rainbow Crystal Growing Experiment works on the principle of crystallization. When a solute like table salt or borax is mixed with warm water, it dissolves completely. As the solution cools and water evaporates, the concentration of solute increases, surpassing its solubility limit. This causes the solute to come out of solution and form solid crystals.
Crystallization is a physical change, not a chemical one; the substance’s chemical structure remains the same. This process mirrors natural occurrences, where minerals form beautiful crystals over long periods.
Helpful Tips
- Use a clean and dry jar to avoid contamination with other substances that could affect crystal growth.
- Experiment with different amounts of solute for various sizes of crystals.
- Ensure to replace any lost water due to evaporation by adding warm water if needed.
- Observe changes carefully, as crystals can grow differently each time based on environmental conditions.
- Document the growth process through photos or drawings to track changes.
Easy Experiment Variations
- Different Shapes: Instead of pipe cleaners, experiment with various shapes using yarn or strings to see how this affects crystal formation.
- Color Mixing: Combine different food coloring to create new colors of crystals.
- Multiple Jars: Create several jars with varying temperatures and solute concentrations to compare results.
- Crystal Size: Try adjusting the temperature of the water to see how it affects the size and growth rate of the crystals.
Doing This Experiment With Kids
This experiment is ideal for kids but does require some adult supervision, particularly when handling hot water. It’s crucial to remind children about safety when using the electric kettle or pot. Additionally, small parts like pipe cleaners should be used under adult guidance, ensuring children’s safety throughout the activity.
What Kids Can Learn
Through this experiment, children can learn the basic concepts of solubility, saturation, and crystallization. It encourages observation skills as they monitor the growth of the crystals over several days. Ask them questions, such as how long they think it will take for the crystals to form, what changes they notice each day, and how temperature affects the process.

Frequently Asked Questions
1. How long does it take for the crystals to form?
Crystals usually take 3-7 days to grow sufficiently, depending on the temperatures and conditions.
2. Can I use different types of salt?
Yes, different types of salt like Epsom salt or rock salt can yield different crystal shapes, making for an interesting observation!
3. What should I do if my crystals are not forming?
Ensure that you have used enough solute and that the water is warm enough for proper solubility.
4. Can I touch the crystals?
It’s best to let them air dry first. Once dry, they can be handled more carefully.
5. What if my solution cools too quickly?
If your solution cools too quickly, you can reheat it gently and try again, ensuring the solute is fully dissolved.
6. Is this experiment safe for all ages?
While the materials are generally safe, adult supervision is recommended, especially with younger children to avoid any issues with hot water.
Conclusion
The Rainbow Crystal Growing Experiment is a wonderful way to explore science at home. Not only does it allow for creative expression through color, but it also provides a hands-on learning experience about crystals and how they form. For additional experiments involving crystal growth, check out this valuable resource that offers more fun and educational activities.
Explore more DIY science projects and hands-on STEM ideas.

Rainbow Crystal Growing Experiment
Would you like to save this project?
By submitting you agree to receive this project and occasional emails. Unsubscribe anytime.
Materials
Crystal Growing Solution
- 1 cup Water (clean and filtered if possible)
- 1 cup Table salt or borax Choose either table salt or borax for the solution.
- 1 jar Clear jar for each color Use multiple jars for different colors.
- a few drops Food coloring or liquid watercolors (optional) Experiment with different colors.
- 1 Wooden skewers or pipe cleaners Use to create hangers for the crystals.
Additional Supplies
- 1 Spoon for stirring Must be heat-safe.
- 1 Small pot or electric kettle For heating water.
- 1 Small mesh strainer or coffee filter (optional) Optional for filtering.
- 1 Measuring cup and spoons
- 1 Labels or masking tape and a marker For labeling jars.
- 1 A tray or towel To protect surfaces from spills.
- 1 Adult supervision if children are involved Safety first!
Directions
Preparation
- Prepare your workspace with a towel or tray to catch any spills.
- Heat the water until it's warm to hot, but not boiling, to ensure safe handling.
- Measure the water and gradually add the solute (table salt or borax), stirring continuously until dissolved.
- Add food coloring to each jar and stir gently to mix for vibrant crystals.
- Shape a pipe cleaner or skewer into a hanger to suspend in the jar.
- Pour the warm solution carefully into each jar to avoid splashes.
- Lower the hanger slowly into the colored solution without touching the bottom of the jar.
- Cover each jar loosely with a paper towel to prevent dust from entering.
- Place the jars in a quiet, stable spot away from direct sunlight.
Observation
- Observe the crystals daily, noting any changes without rushing the process.
- When crystals look substantial, gently remove the hanger from the jar.
- Let the finished crystals air dry on a towel for about an hour.
- Consider a light spray of matte finish for preservation, if desired.
- Reflect on the process and discuss any surprises or questions that arose during the experiment.
Last Step: Don’t forget to leave a rating and comment below! It helps other readers find the best DIY projects — and it helps us too!