
Crystal Growing Tree
Creating a crystal growing tree is a fascinating science activity that allows kids and adults alike to explore the beauty of crystals and the science behind their formation. This project combines artistic creativity with scientific exploration, making it a fantastic choice for families, classrooms, or STEM clubs. As the crystals form, participants will observe colorful transformations and learn about solubility and crystallization key concepts in chemistry. You may also find Rainbow Crystal Garden Science Experiment Kids useful.
In this activity, you will use basic materials to create a whimsical tree that turns into dazzling crystals over time. Not only will you find joy in the craft, but you’ll also gain valuable insights into how crystals are formed from a solution.
Why You’ll Love This Science Activity
- Hands-On Learning: This activity encourages children to engage with scientific concepts while molding materials into a fun shape.
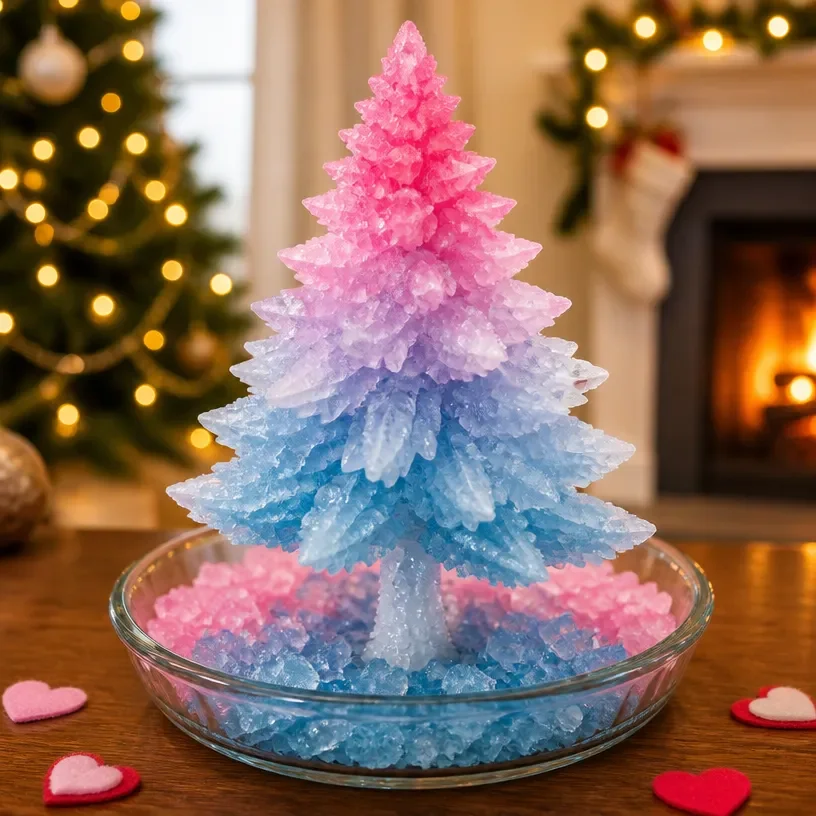
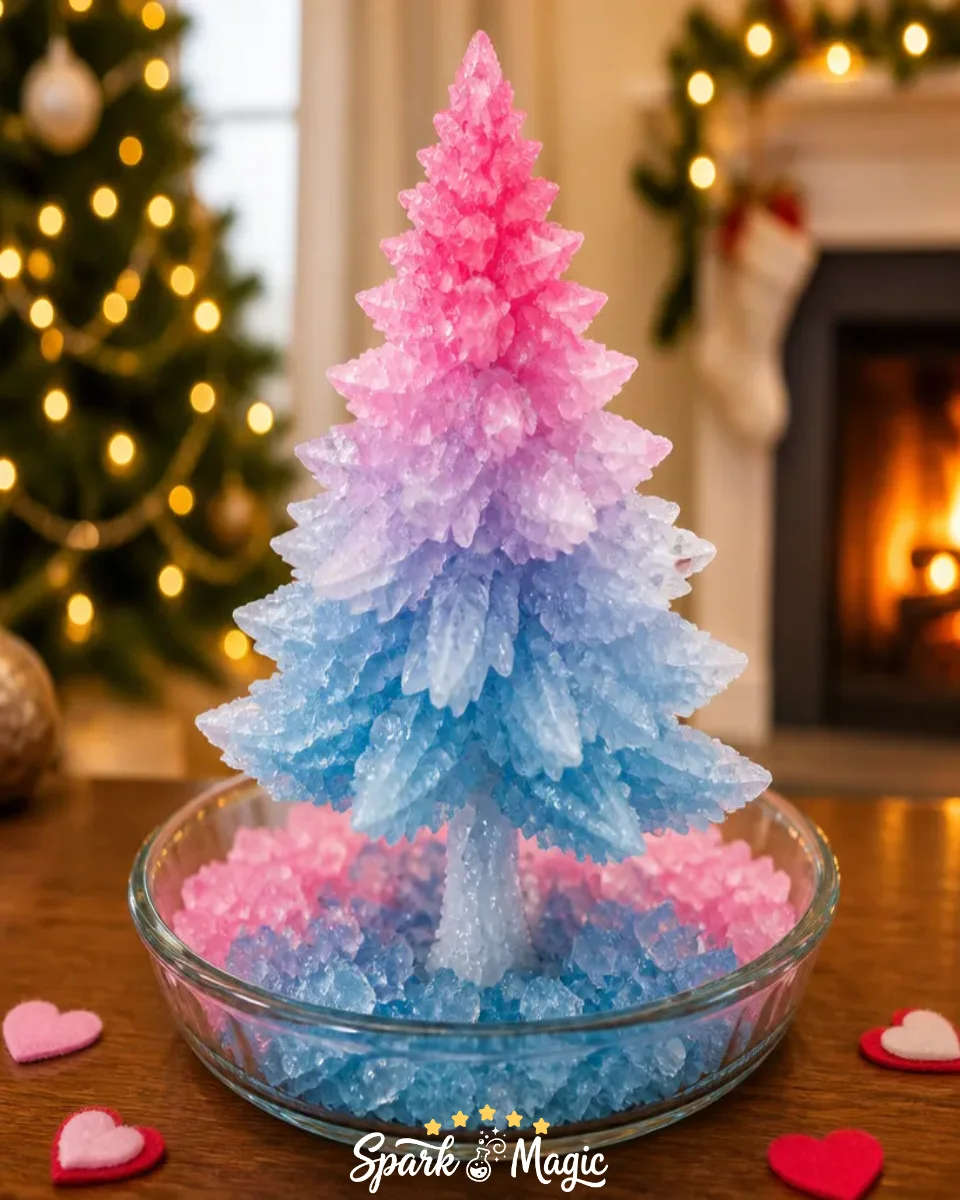
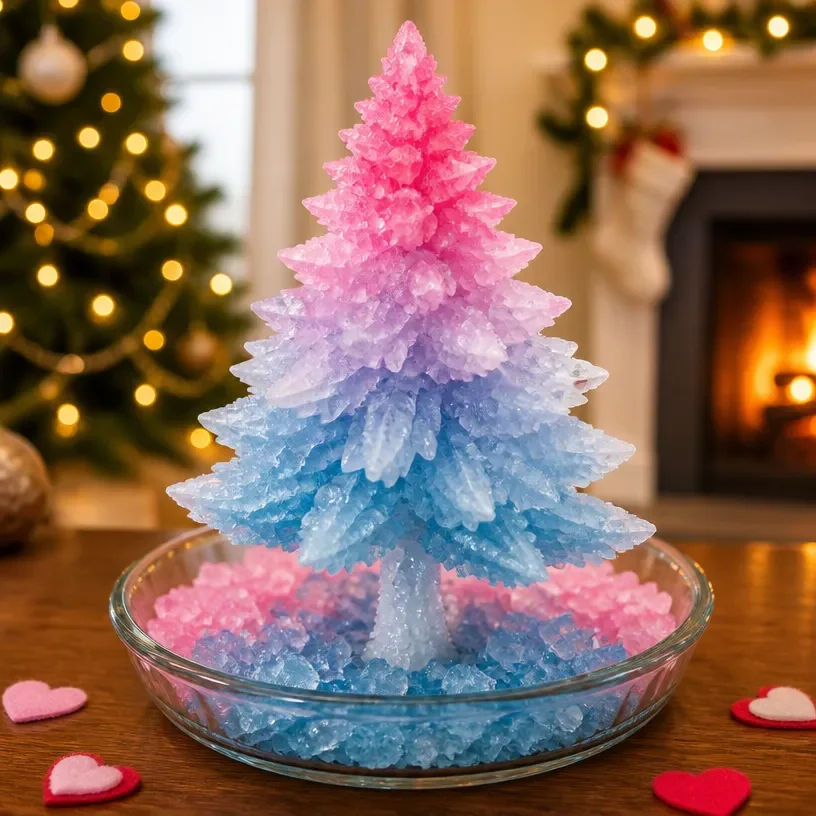
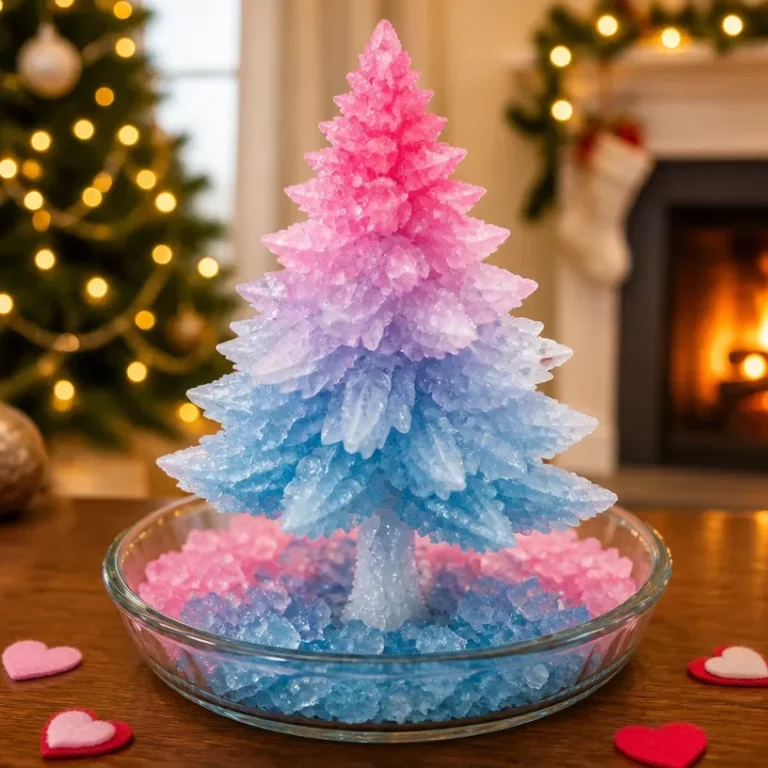
- Visual Results: The transformation from a simple pipe cleaner tree to a sparkling crystal creation captivates the imagination and curiosity of all ages.
- Connection to Nature: Children learn about natural processes while creating decorative art that resembles what they might find in nature.
- Simple Materials: All the materials needed for this experiment are common household items, making it easy and accessible.
- Observation Skills: Children enhance their observation abilities as they watch the growth of crystals over time.
Materials You’ll Need
- Borax powder: A key ingredient that allows the crystals to form.
- Boiling water: Used to dissolve the Borax.
- White pipe cleaners: Serves as a structure for your crystal tree.
- Food coloring: Adds a splash of color to your crystals.
- Heat-safe glass pie dish: Holds the solution and the tree securely.
- Large heat-safe jar: Necessary for growing the crystals.
- Spoon or stirrer: To mix the solution thoroughly.
- Scissors: For trimming the pipe cleaners into shape.
It’s worth noting that Borax is a common household cleaning agent, but make sure to supervise young children when handling it.
How to Do Crystal Growing Tree
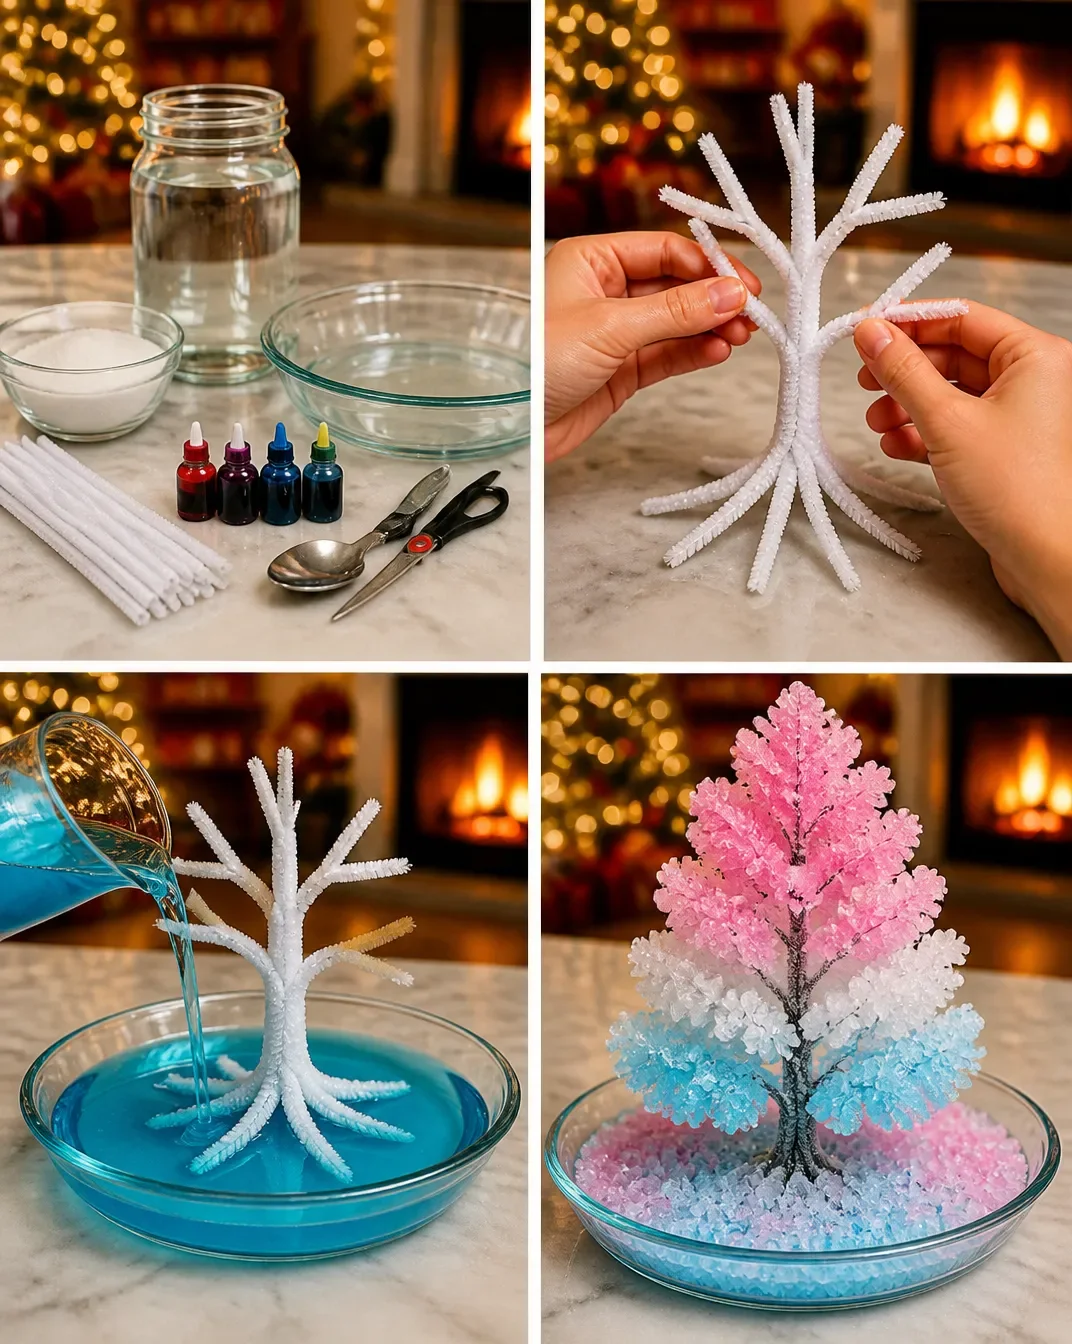
Create Your Tree Structure: Start by twisting the pipe cleaners into a strong trunk. Spread the bottom out to form roots and cut some branches for an attractive shape.
Prepare the Crystal Solution: Boil water in a kettle. In a separate container, mix in Borax until the solution becomes clear. Then, add your choice of food coloring to make the visuals striking.
Set Up the Tree: Place your tree inside the heat-safe glass pie dish. Gently pour the crystal solution around the tree, ensuring it’s well-covered.
Let the Crystals Grow: Allow the setup to sit undisturbed for 12-24 hours. After this time has passed, drain any excess liquid and let your tree air-dry.
What Happens During the Experiment?
As you let the solution sit, you will start to notice that crystals begin to form. The Borax dissolves in the boiling water, saturating the liquid. As the solution cools, it cannot hold as much Borax, causing it to precipitate out and crystallize onto the pipe cleaners. You’ll observe the transformation beautifully as the clear liquid turns into a shimmering tree.
How It Works: The Science Explained
The science behind this experiment lies in the principles of solubility and crystallization. When the Borax is dissolved in boiling water, it forms a saturated solution. As the solution cools, it can hold less Borax, and the excess starts to crystallize this process begins on the surface of your tree, creating beautiful formations that mimic natural crystal growth patterns. The colors added through food coloring will become embedded in the crystals, adding a delightful aesthetic element to your creation.
Helpful Tips
- Preparation: Make sure the water is boiling before you start mixing in the Borax for the best results.
- Visibility: For rich color, consider using gel food coloring, which has stronger pigmentation than liquid varieties.
- Supervision: Always supervise kids during the use of boiling water and hot setups to ensure safety.
- Troubleshooting: If no crystals form, ensure that the solution was correctly saturated and that the setup remained undisturbed.
Easy Experiment Variations
- Color Experiments: Try different colors of food coloring to see how they influence the final appearance of the crystals.
- Size Variations: Use more or less Borax to experiment with larger or smaller crystal formations.
- Shapes and Structures: Experiment with different shapes or sizes of pipe cleaners to see how it affects the crystal coverage and aesthetic.
Doing This Experiment With Kids
This experiment is a great way for children to learn hands-on, but adult supervision is needed when handling boiling water. Also, be cautious with small pieces of pipe cleaner that could pose a choking hazard for younger children.
What Kids Can Learn
Through this experiment, kids will learn about the process of crystallization and the factors that affect crystal growth. They will enhance their observation skills, as they will need to monitor the changes over the 12-24 hours. You might ask them questions such as, “What colors do you see forming?” or “How do the crystals feel compared to the pipe cleaners?”
Frequently Asked Questions
1. How do I know if the mixture is ready?
The mixture should be clear and fully dissolved before adding the food coloring.
2. Can I use other types of cleaners instead of Borax?
Borax is specifically known for crystal formation, so it’s best to stick with it for this experiment.
3. Why did my crystals not grow?
Ensure the solution was properly saturated with Borax and left undisturbed for the set time.
4. Can I use cold water instead of boiling?
Boiling water is necessary to dissolve the Borax effectively, which won’t happen with cold water.
Conclusion
The crystal growing tree provides a unique opportunity for hands-on learning and creativity. If you’re interested in exploring more about crystal growing, consider checking out a Crystal Tree Growing Kit to see advanced options and methods. This engaging activity fosters curiosity and a love for science in everyone who participates.
Explore more DIY science projects and hands-on STEM ideas.
Crystal Growing Tree
Would you like to save this project?
By submitting you agree to receive this project and occasional emails. Unsubscribe anytime.
Materials
For the Crystal Structure
- 2 pieces White pipe cleaners Serves as a structure for your crystal tree.
- 1 cup Borax powder Key ingredient for crystal formation.
- 4 cups Boiling water Used to dissolve the Borax.
- 1 teaspoon Food coloring Adds color to your crystals.
For Setup
- 1 piece Heat-safe glass pie dish Holds the solution and the tree securely.
- 1 piece Large heat-safe jar Necessary for growing the crystals.
- 1 each Spoon or stirrer To mix the solution thoroughly.
- 1 pair Scissors For trimming the pipe cleaners into shape.
Directions
Preparation
- Start by twisting the pipe cleaners into a strong trunk and spread the bottom out to form roots, cutting some branches for an attractive shape.
Crystal Solution Preparation
- Boil water in a kettle. In a separate container, mix the Borax until the solution becomes clear. Then add food coloring.
Setup
- Place your tree inside the heat-safe glass pie dish and gently pour the crystal solution around the tree, ensuring it is well-covered.
Growing Crystals
- Allow the setup to sit undisturbed for 12-24 hours. After this time has passed, drain any excess liquid and let your tree air-dry.
Last Step: Don’t forget to leave a rating and comment below! It helps other readers find the best DIY projects — and it helps us too!