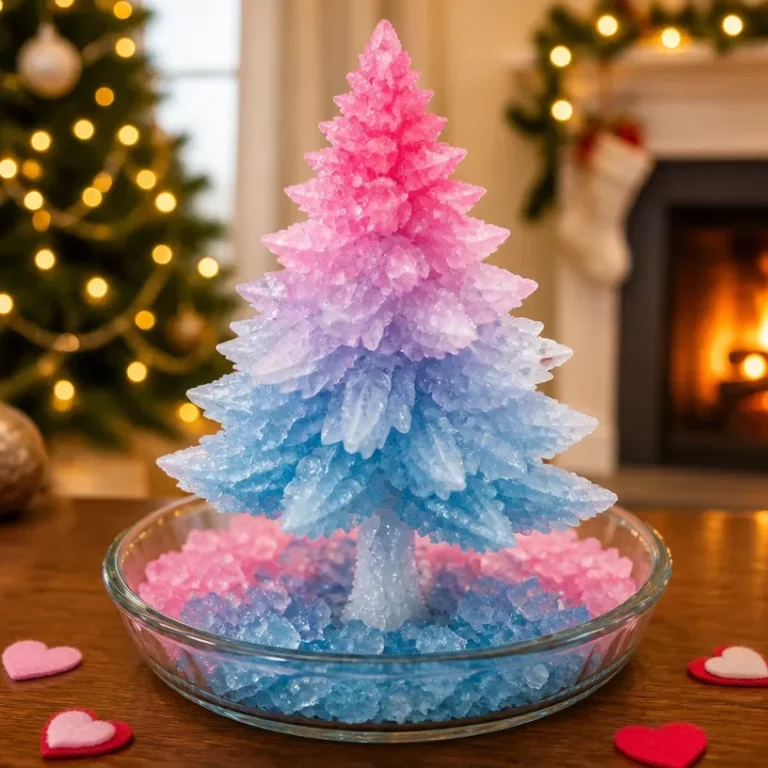

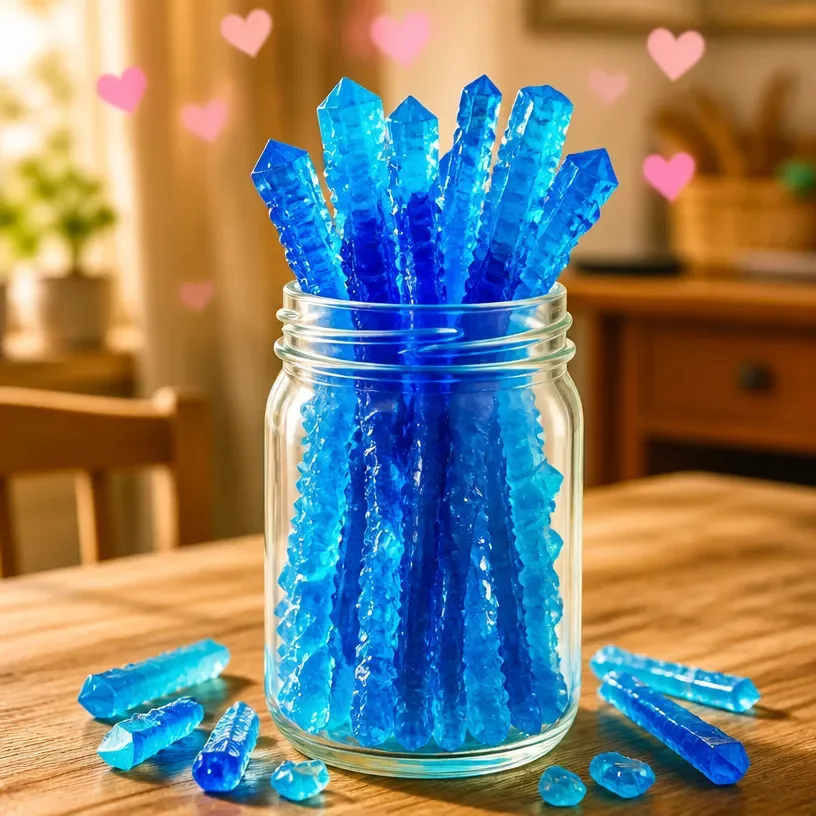
Crystal Growing Experiment
Growing crystals at home is a fantastic way to explore science and engage curiosity. This experiment allows children to see chemistry in action as they create beautiful crystal formations using simple household materials. As the crystals grow over time, they will observe changes and learn about saturation and solubility key concepts in chemistry. You may also find Rainbow Crystal Garden Science Experiment Kids useful.
Why You’ll Love This Science Activity
- Hands-On Learning: Children actively participate in the process, enhancing their understanding of scientific concepts.
- Visual Results: Watching crystals grow offers immediate, rewarding observations of science in action.
- Simple Materials: This project uses common household ingredients, making it accessible and easy to perform.
- Documentation Skills: Keeping a notebook helps children practice observation and recording skills, essential in scientific studies.
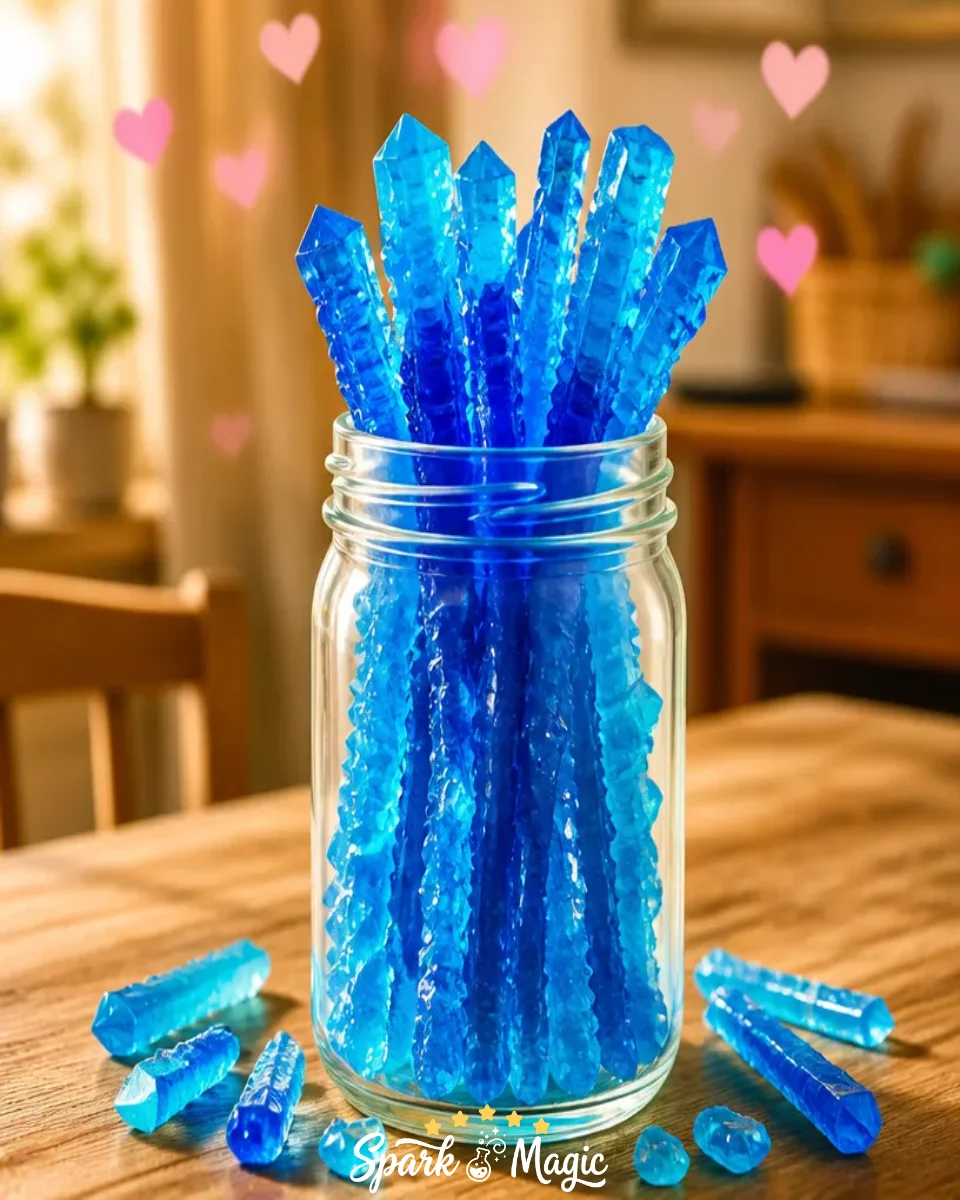
You may also find Cloud In A Jar Easy Science Experiments For Kids useful.
Materials You’ll Need
- Warm water
- Alum powder, Borax, Sugar, or Baking soda
- String or cotton thread
- Pipe cleaners or small twigs (optional)
- Clothespins or chopsticks
- Labels and a small notebook
- Paper or tray (to catch spills)
These materials facilitate the crystal growth process, with the chosen powder acting as the substance that will crystallize.
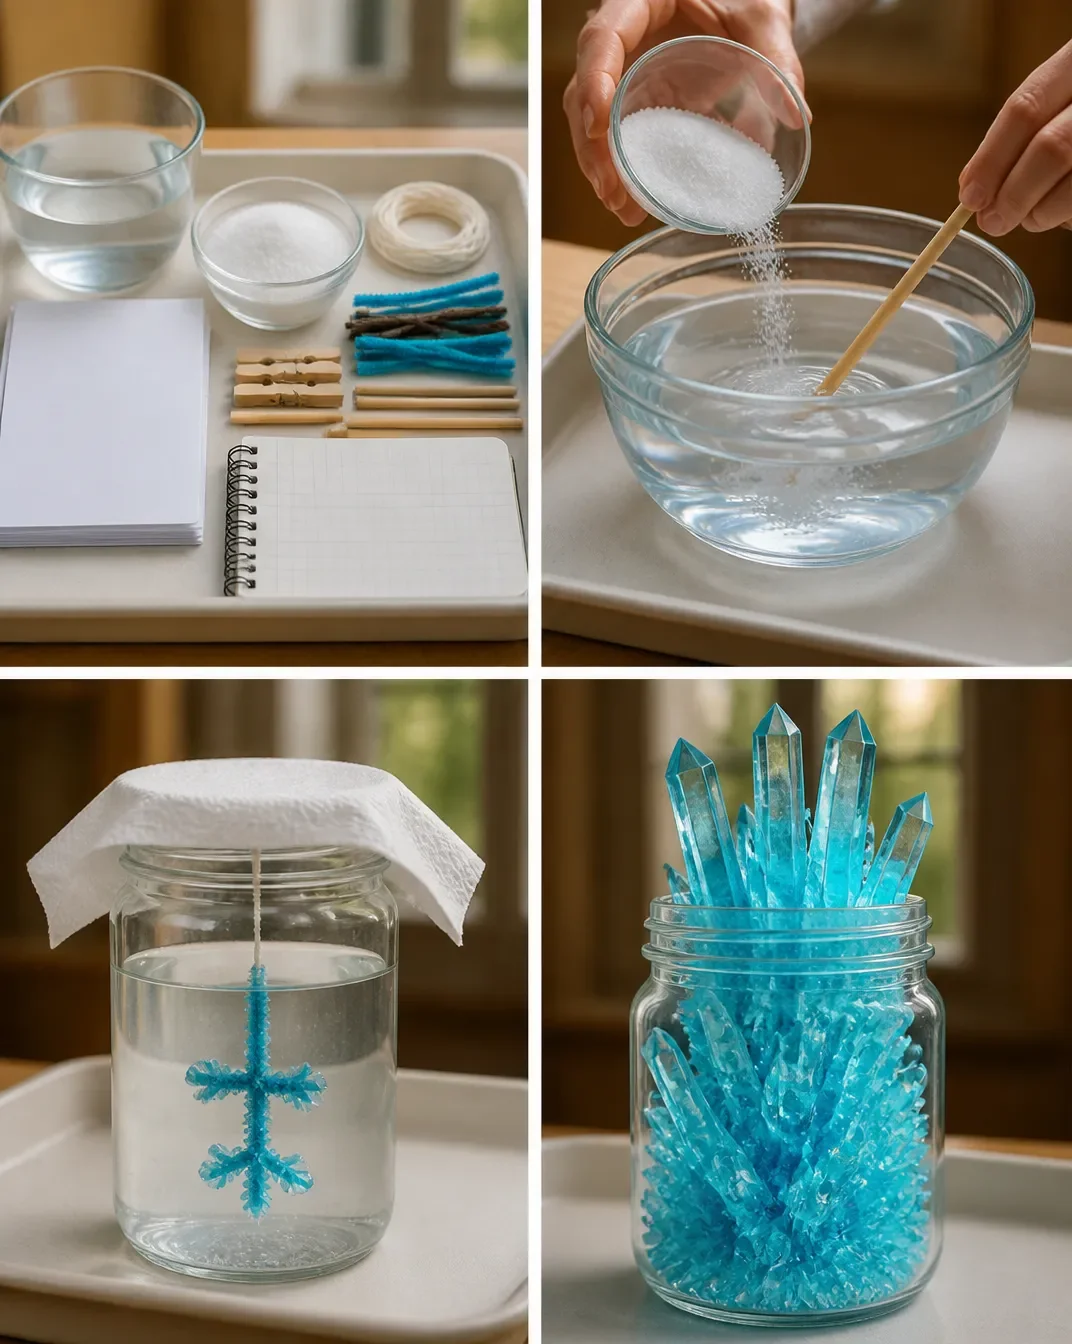
How to Do Crystal Growing Experiment
- Prepare your workspace and lay down a paper tray. Label jars and notebook.
- Heat water until hot, then pour it into a heatproof bowl.
- Slowly add your chosen substance while stirring until it is completely dissolved.
- Test the saturation by adding small pinches of the substance until no more dissolves.
- Skim any solids from the surface and pour the clear solution into your jar.
- Prepare a string or pipe cleaner shape and suspend it in the jar.
- Cover the jar loosely with a paper towel and place it in a calm spot with indirect light.
- Check daily for growth, removing any crust that forms.
- After several days, lift the armature and rinse with cool water to clean.
- Document your observations in the notebook.
This step-by-step guide ensures clarity at every point, making the experiment approachable for young scientists.
What Happens During the Experiment?
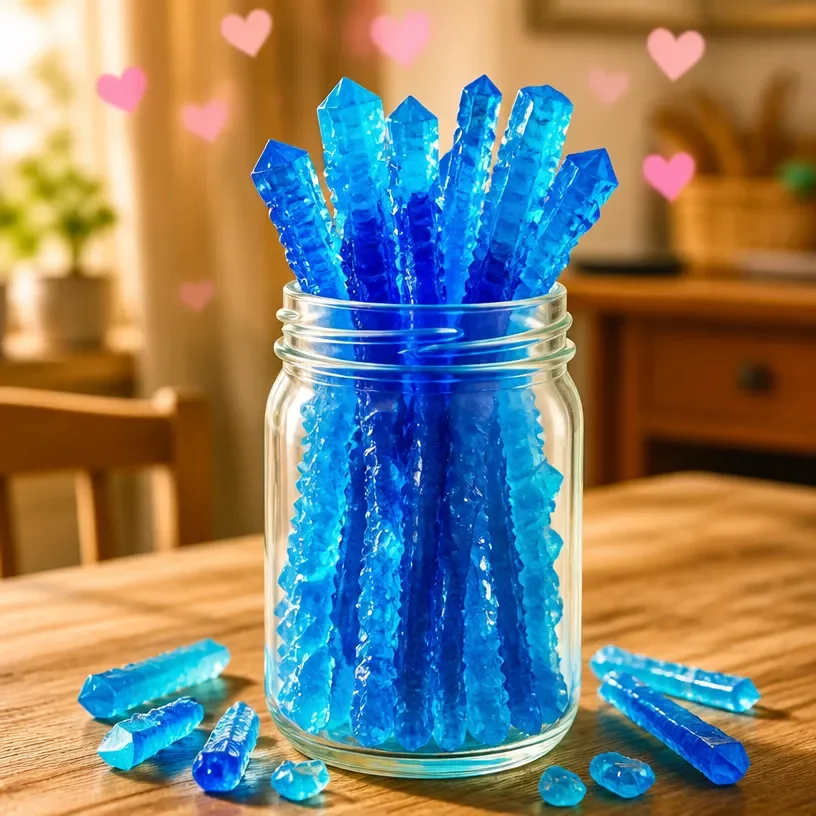
As the solution cools, the solute will gradually begin to crystallize. You’ll see the strings or shapes become encrusted with crystals, which may vary in size depending on the time allowed for growth and the conditions of the experiment. Observing these changes provides a hands-on lesson on how crystals form from a supersaturated solution.
How It Works: The Science Explained
The process involves dissolving a solute (like Borax or sugar) in warm water, creating a saturated solution. When the solution cools, it can’t keep all the dissolved material in liquid form, leading to crystallization. The crystals form as the solute molecules find each other and bond together, utilizing principles of chemistry and physics.
Helpful Tips
- Stable Environment: Choose a spot free from vibrations, as movement can disrupt crystal formation.
- Observation: Encourage children to note changes daily this practice promotes scientific inquiry.
- Proper Dissolution: Ensure all the substance is well dissolved; undissolved particles can interfere with growth.
Easy Experiment Variations
- Colorful Crystals: Add food coloring to the solution for visually appealing results.
- Different Substances: Experiment with different solutes like salt or sugar to see how the crystals differ.
- Shape Changes: Try different shapes made from pipe cleaners to create unique crystal formations.
Doing This Experiment With Kids
This experiment is perfect for children. Adult supervision is recommended, particularly when handling hot water. Ensure children do not ingest any materials and teach them proper handling of all items.
What Kids Can Learn
Children will grasp important scientific concepts like solubility, saturation, and crystallization. They can learn to ask questions about why certain changes occur and how they can control the outcomes, promoting critical thinking and problem-solving skills.
Frequently Asked Questions
1. How can I speed up crystal growth?
You can increase the temperature of the solution, which allows more solute to dissolve and can speed up the crystallization process.
2. Why didn’t my crystals grow?
Often, this is due to not achieving a true saturated solution. Make sure to test saturation properly.
3. Can I use different containers?
Yes, but ensure they can withstand hot water without any risk of breaking.
4. How long does it usually take for crystals to form?
Typically, you can see initial growth within a few days, but allowing a week or more provides larger crystals.
Conclusion
This crystal growing experiment is not only a fun and engaging activity but also a fantastic opportunity for hands-on learning about chemistry. For more crystal-related science activities, consider checking out this informative resource on crystal growth: STEM Experiment: Grow Your Own Crystals.
Explore more DIY science projects and hands-on STEM ideas.

Crystal Growing Experiment
Would you like to save this project?
By submitting you agree to receive this project and occasional emails. Unsubscribe anytime.
Materials
Materials
- 2 cups Warm water Must be hot but not boiling.
- 1 cup Alum powder, Borax, Sugar, or Baking soda Choose one as the solute for crystallization.
- 1 piece String or cotton thread For suspending in the solution.
- Optional Pipe cleaners or small twigs To create shapes for growing crystals.
- 1 piece Clothespins or chopsticks To hold the string in place.
- 1 Labels and a small notebook For documenting observations.
- 1 tray Paper or tray To catch spills.
Directions
Preparation
- Prepare your workspace and lay down a paper tray. Label jars and notebook.
- Heat water until hot, then pour it into a heatproof bowl.
Dissolving
- Slowly add your chosen substance while stirring until it is completely dissolved.
- Test the saturation by adding small pinches of the substance until no more dissolves.
- Skim any solids from the surface and pour the clear solution into your jar.
Setup
- Prepare a string or pipe cleaner shape and suspend it in the jar.
- Cover the jar loosely with a paper towel and place it in a calm spot with indirect light.
- Check daily for growth, removing any crust that forms.
Observation
- After several days, lift the armature and rinse with cool water to clean.
- Document your observations in the notebook.
Last Step: Don’t forget to leave a rating and comment below! It helps other readers find the best DIY projects — and it helps us too!