
Crystal Growing Experiment: A Fun and Educational Activity
In this exciting science activity, you and your kids will get to grow crystals using easy-to-find materials. Not only is this experiment fascinating to see unfold, but it’s also a great way to learn about the concepts of solubility and crystallization. By observing how crystals form, children can enhance their understanding of basic chemistry while having a blast. You may also find Cloud In A Jar Easy Science Experiments For Kids useful.
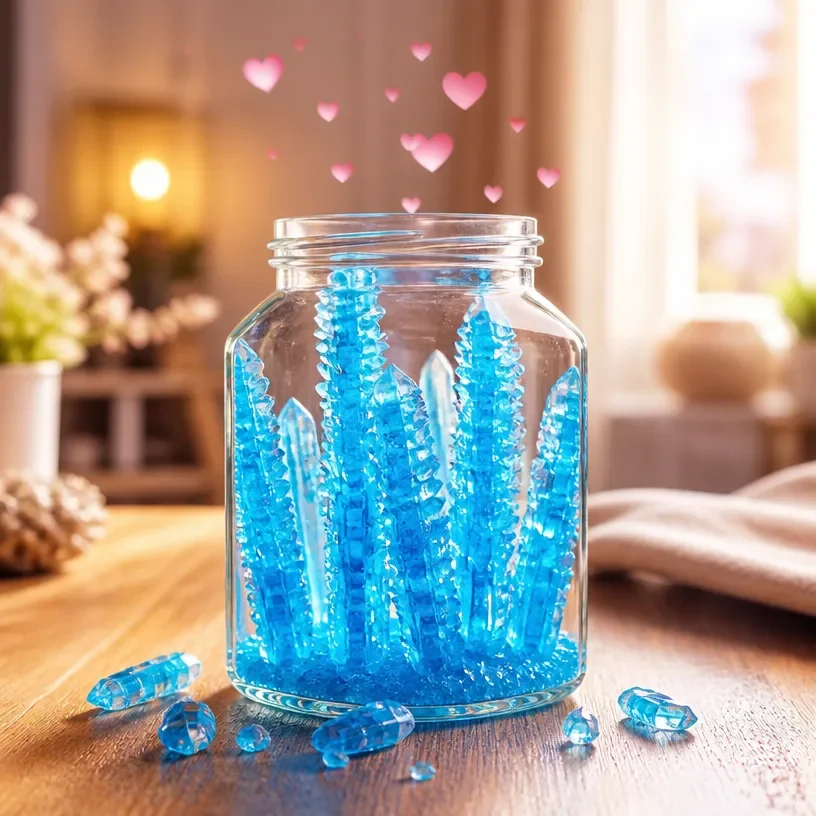
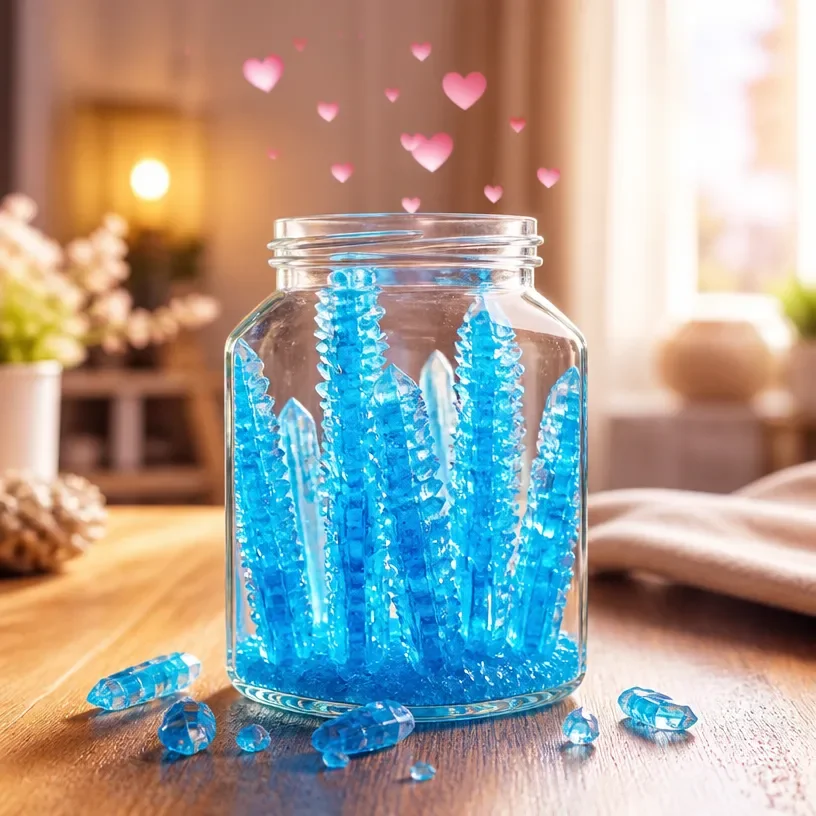
As you engage in this crystal growing experiment, you will watch as colorful, sparkly crystals develop over several days. During this time, you can encourage your children to keep a notebook of their observations, making the learning experience even richer. Plus, for those interested in exploring further, you might also enjoy projects like building a rainbow crystal garden.
Why You’ll Love This Science Activity
- Simple and Safe: Most materials are household items, making it easy and safe to set up.
- Educational: Kids learn about solubility, diffusion, and crystal formation.
- Visual Results: Watching the growth of crystals is visually stimulating and exciting.
- Hands-On Learning: Encourages observation and documentation, enhancing scientific skills.

Materials You’ll Need
- Warm water
- Alum powder, Borax, Sugar, or Baking soda (any of these can work for crystal growth)
- String or cotton thread
- Pipe cleaners or small twigs (optional)
- Clothespins or chopsticks
- Labels and a small notebook
- Paper or tray
Each material serves a key purpose. For example, boiling water provides the solution required for your chosen substance to dissolve properly.
How to Do Crystal Growing Experiment
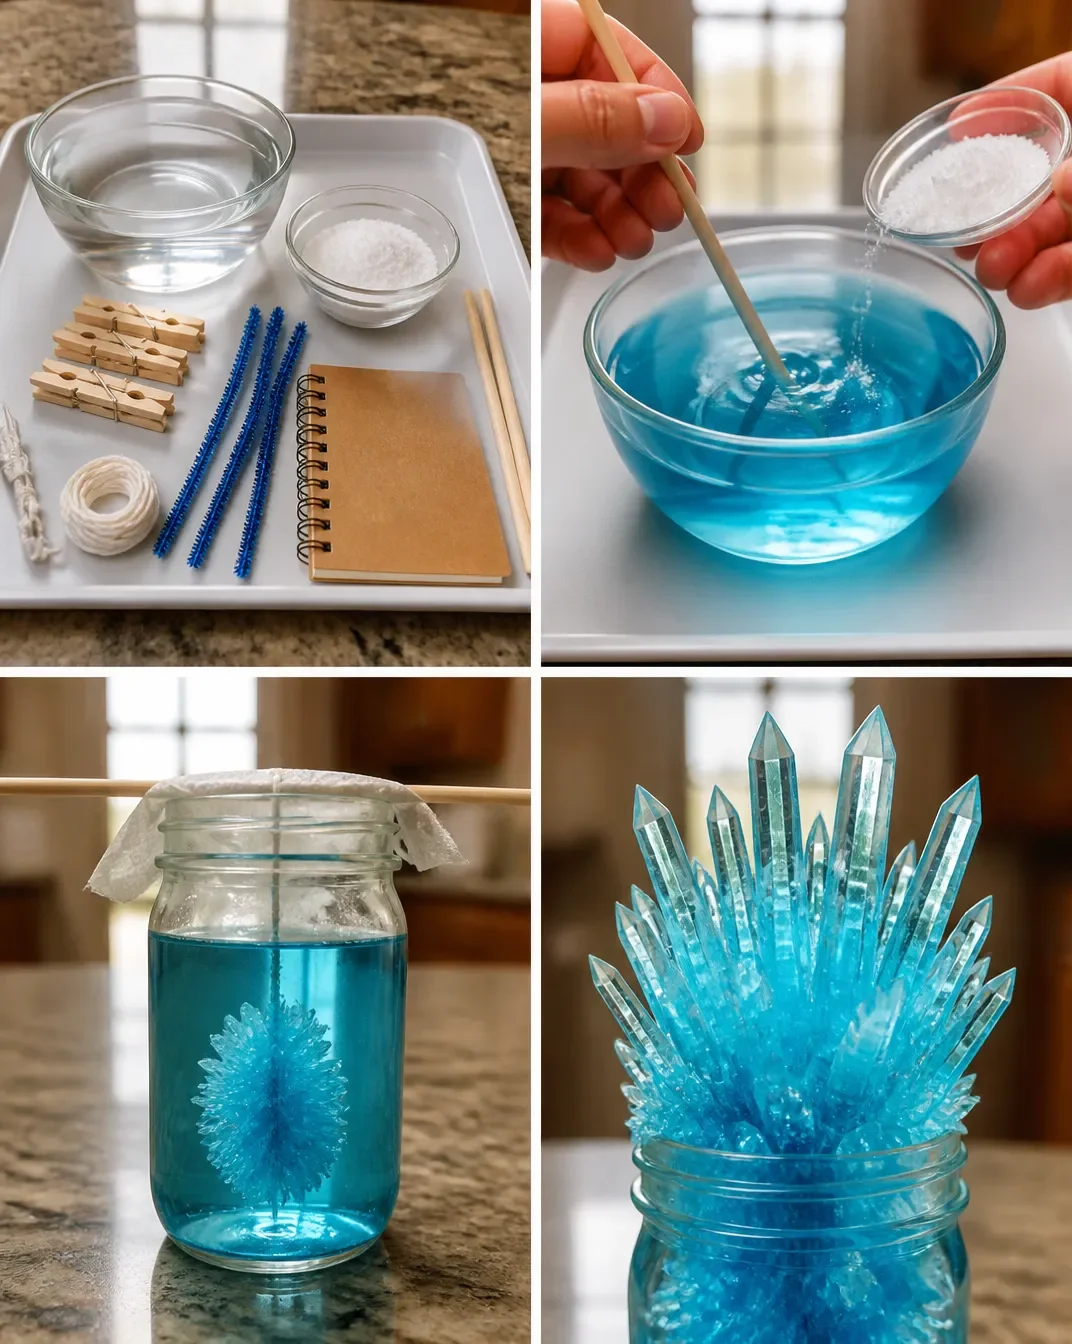
- Prepare Your Workspace: Lay down a paper tray to catch any spills.
- Heat Water: Warm your water until hot but not boiling, and pour it into a heatproof bowl.
- Add Your Chosen Substance: Slowly add your selected substance (like Borax) while stirring until it completely dissolves.
- Test Saturation: Add small pinches of the substance until it no longer dissolves and forms a saturated solution.
- Skim Solids: Remove any solids floating on the surface and carefully pour the clear solution into your jar.
- Prepare the Armature: Shape your string or pipe cleaner to suspend it in the jar without touching the sides.
- Cover the Jar: Loosely cover the jar with a paper towel and place it in a calm spot with indirect light.
- Check Daily for Growth: Monitor your solution daily, gently removing any crust that forms on the surface.
- Rinse Crystals: After several days, cautiously lift the armature and rinse with cool water to clean any residue.
- Document Observations: Keep track of your observations in your notebook, noting any changes.
What Happens During the Experiment?
Throughout the experiment, you’ll observe fascinating changes. The solution will gradually cool, allowing crystals to form as the water evaporates. These crystals may appear in various shapes and sizes, depending on the substance you used.
How It Works: The Science Explained
This experiment illustrates key scientific principles such as solubility, where the warm water acts as a solvent to dissolve the crystals. As the solution cools and evaporates, it reaches a point where it can no longer hold the same amount of solute, leading to the formation of visible crystals a process known as crystallization.
Helpful Tips
- Ensure that the water is warm but not boiling to maximize solubility without damaging other materials.
- Make sure the string or armature does not touch the sides or bottom of the jar to allow for even crystal growth.
- If you don’t see growth right away, be patient, as it may take several days to notice significant changes.
Easy Experiment Variations
- Change Colors: Add food coloring to your solution to create colored crystals.
- Different Materials: Experiment with various substances like sugar or baking soda for different crystal structures.
- Size Variation: Alter the temperature of the water to see if it affects the size and speed of crystal growth.
Doing This Experiment With Kids
This experiment is suitable for children, though adult supervision is recommended, especially when using hot water. Ensure kids understand the importance of handling materials safely and not touching hot items directly.
What Kids Can Learn
Through the crystal growing experiment, kids develop observation skills as they document changes over time and learn about scientific concepts like solubility and crystallization. Questions they might consider include: How do the different substances affect crystal size and shape?
Frequently Asked Questions
1. How long does it take for the crystals to form?
It typically takes several days for visible crystal growth to occur.
2. Can I use different substances?
Yes! Experiment with various materials like sugar, baking soda, or alum to see how they affect the outcome.
3. What should I do if no crystals form?
Check that your solution is saturated enough and make sure it is placed in a calm environment.
4. Will the crystals be edible?
Only use food-safe substances if you plan on consuming the crystals.
5. What can I learn from this experiment?
You will learn basic chemistry concepts, enhance observation skills, and understand processes like crystallization.
Conclusion
Engaging in the crystal growing experiment is not only fun but also an excellent way for children to learn about science through hands-on experience. For additional insights and activities, check out this STEM experiment on growing crystals. Embrace the curiosity and creativity that science brings!
Explore more DIY science projects and hands-on STEM ideas.
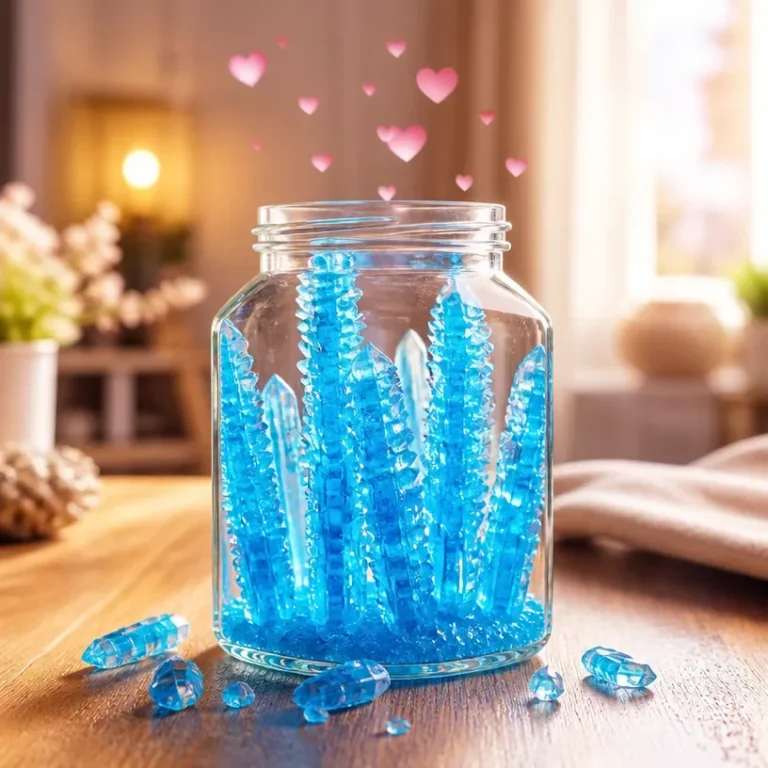
Crystal Growing Experiment
Would you like to save this project?
By submitting you agree to receive this project and occasional emails. Unsubscribe anytime.
Materials
Materials Needed
- 1 cup Warm water Should be hot but not boiling.
- 1 cup Alum powder, Borax, Sugar, or Baking soda Any of these can work for crystal growth.
- 1 piece String or cotton thread For suspending crystals.
- 1 optional Pipe cleaners or small twigs Can be used as armature.
- 1 piece Clothespins or chopsticks Used to secure string in jar.
- 1 piece Labels For identification during the experiment.
- 1 small Notebook To document observations.
- 1 piece Paper or tray To catch spills during the experiment.
Directions
Preparation
- Lay down a paper tray to catch any spills.
- Warm your water until hot but not boiling, and pour it into a heatproof bowl.
- Slowly add your chosen substance (like Borax) while stirring until it completely dissolves.
- Add small pinches of the substance until it no longer dissolves and forms a saturated solution.
- Remove any solids floating on the surface and carefully pour the clear solution into your jar.
- Shape your string or pipe cleaner to suspend it in the jar without touching the sides.
- Loosely cover the jar with a paper towel and place it in a calm spot with indirect light.
- Monitor your solution daily, gently removing any crust that forms on the surface.
- After several days, cautiously lift the armature and rinse with cool water to clean any residue.
- Keep track of your observations in your notebook, noting any changes.
Last Step: Don’t forget to leave a rating and comment below! It helps other readers find the best DIY projects — and it helps us too!