
Crystal Growing Seashell Geodes Craft for Kids
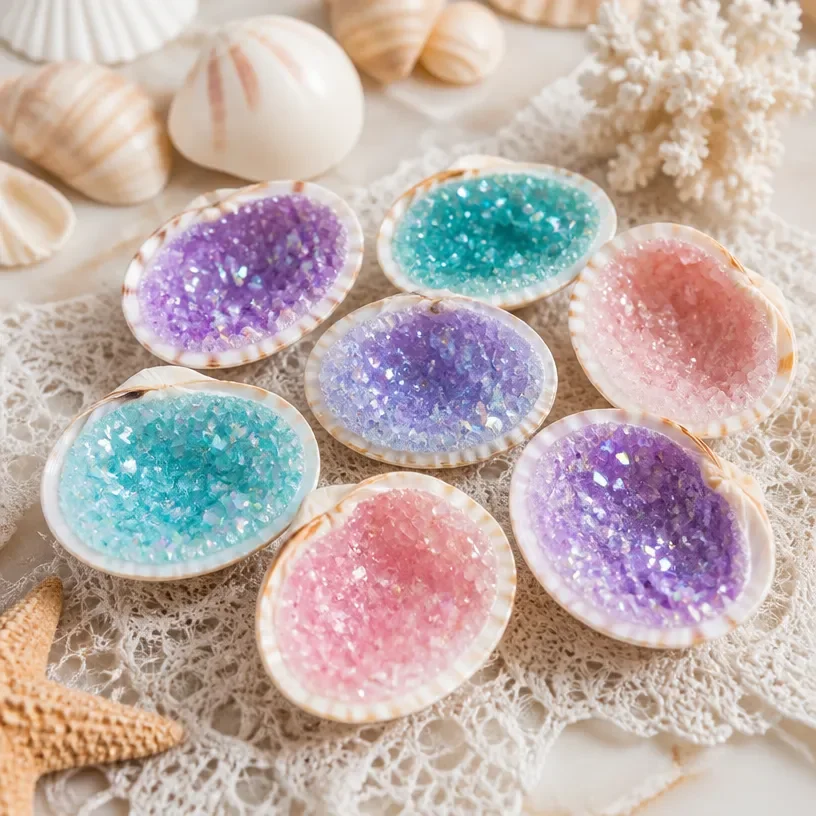
Creating crystal growing seashell geodes offers an exciting way for children to explore the beauty of nature while learning the basics of chemistry. This hands-on project allows kids to witness how crystals form within seashells, making it a captivating blend of art and science. As they observe the growth of these colorful crystals, they will gain a greater appreciation for the natural processes that occur around us. You may also find Cloud In A Jar Easy Science Experiments For Kids useful.
Why You’ll Love This Science Activity
- Engaging Learning Experience: Kids will be thrilled to see how their efforts turn ordinary seashells into shimmering crystal geodes!
- Simple Materials: You can easily gather the supplies right from your home, making it an accessible STEM activity.
- Instant Gratification: The results can typically be seen within 24 hours, providing immediate visual satisfaction.
- Builds Observational Skills: Children will learn to carefully observe changes in their environment during the crystal formation.
- Creative Expression: Adding food coloring allows kids to personalize their creations, making each geode unique.

You may also find Rainbow Crystal Garden Science Experiment Kids useful.
Materials You’ll Need
- Seashells (washed and cleaned): The star of the show! Make sure they are thoroughly clean to allow crystal formation.
- Borax: A crucial ingredient that helps form the crystals.
- Water: Used to create the solution for the borax crystals.
- Food coloring (optional): Adds vibrant colors to the crystals.
- A heat-resistant container: An old glass jar works perfectly for this project.
- Spoon for stirring: Needed to mix the borax and water solution.
- Measuring cup: To measure the proper ratios of borax and water.
- Cooling rack or drying area: For letting the seashells dry after they’ve formed crystals.

How to Do Crystal Growing Seashell Geodes Craft for Kids
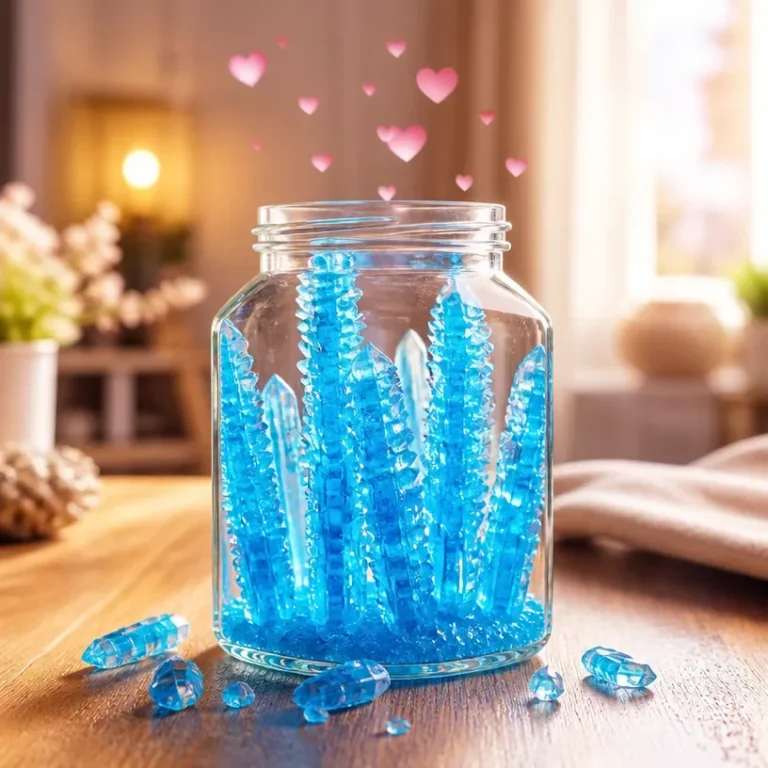
Prepare the Container: Choose a heat-resistant container that can hold water. An old glass jar works well. You may also find Mini Snowstorm Jar Winter Stem Activity Kids useful.
Mix Borax and Water: In the container, mix one part Borax with three parts hot water. Make enough solution to cover the seashells entirely. This step is where the magic begins!
Add Color: Mix in a few drops of food coloring into the solution if desired. This will make your crystals even more eye-catching.
Submerge the Seashells: Place the cleaned seashells in the solution, ensuring they are fully submerged. This is crucial for even crystal growth.
Let It Sit: Allow the container to sit undisturbed in a cool place for at least 24 hours to see the crystal formation. Keep an eye on it to avoid disturbances.
Remove and Dry: After 24 hours, take the shells out and let them dry on a cooling rack, rinsing off any excess Borax gently with water if necessary.
What Happens During the Experiment?
As the borax dissolves in hot water, it will gradually start to crystallize as the water cools down. The borax molecules will attach themselves to the surfaces inside the seashell, forming larger and larger crystals over time. Each geode will end up unique in its look, showcasing the integral connection between the parameters of your setup and the final product.
How It Works: The Science Explained
The formation of crystals is a physical change that takes place due to the process of crystallization. When the borax is mixed with hot water, it dissolves. As the water cools, the solution becomes supersaturated, allowing the borax to crystallize and adherably grow on the surfaces inside the seashell. This slow process of deposition leads to the development of structured, beautiful crystals. Unlike chemical reactions, this process does not change the chemical identity of the borax; it merely reorganizes the borax molecules in a crystalline form.
Helpful Tips
- Prepare with Care: Always ensure that your seashells are thoroughly cleaned, as residues can hinder crystal growth.
- Maintain Temperature: Using hot but not boiling water helps the borax dissolve better.
- Positioning: Choose a place where the mixture won’t be disturbed for the full 24 hours.
- Safety First: Although borax is generally safe, ensure that children wash their hands after handling it.
Easy Experiment Variations
- Different Colors: Use various colors of food dye in different containers to create a stunning array of crystal geodes.
- Different Shells: Try using various sizes and shapes of seashells to see how they affect crystal growth.
- Crystal Size Experiment: Adjust the amounts of borax and water to explore what happens when you change the solution’s concentration.
- Shape Experimentation: Test placing small rocks or other natural objects alongside shells to see how they affect the crystals.
Doing This Experiment With Kids
This activity is perfect for families and classrooms. Although the steps are straightforward, adult supervision is recommended, especially during mixing and handling hot water. Ensure children understand not to put their hands into the hot water or consume any of the materials involved in this experiment.
What Kids Can Learn
Through this experiment, kids will learn about crystallization, the importance of environmental conditions for crystal growth, and the overall beauty of natural processes. They can also practice their observation skills by noting the differences in their crystal formations and even predict outcomes based on their adjustments to the experiment.

Frequently Asked Questions
1. How long does it take to see results?
You should start to see results in about 24 hours, although the best crystal formation can happen over a few days.
2. Can I add glitter to the solution?
While you can experiment with adding glitter for an extra sparkle, it may interfere with the crystal growth process.
3. What should I do if my crystals are small?
If your crystals are smaller than expected, ensure that you had enough borax in your solution and consider letting them sit longer.
4. Is borax safe for kids to handle?
Borax is generally safe but should not be ingested. Always wash hands after handling it.
Conclusion
Crystal growing seashell geodes are not only a fun and visually striking craft but also an excellent opportunity for kids to delve into science. By following this project, they can observe important scientific concepts firsthand. For additional fascinating crystal experiments, you can check out this engaging guide on how to grow your own crystal geodes.
Explore more DIY science projects and hands-on STEM ideas.

Crystal Growing Seashell Geodes
Would you like to save this project?
By submitting you agree to receive this project and occasional emails. Unsubscribe anytime.
Materials
Main Ingredients
- 1 cup Borax A crucial ingredient that helps form the crystals.
- 3 cups Hot water Used to create the solution for the borax crystals.
- 1 seashell Washed and cleaned seashells Ensure they are thoroughly clean to allow crystal formation.
- a few drops Food coloring (optional) Adds vibrant colors to the crystals.
Equipment Needed
- 1 Heat-resistant container (old glass jar) For mixing the borax solution.
- 1 Spoon for stirring Needed to mix the borax and water solution.
- 1 measuring cup Measuring cup To measure the correct ratios of borax and water.
- 1 Cooling rack For letting the seashells dry after they’ve formed crystals.
Directions
Preparation
- Choose a heat-resistant container that can hold water, such as an old glass jar.
- In the container, mix one part Borax with three parts hot water.
- Mix in a few drops of food coloring into the solution if desired.
- Place the cleaned seashells in the solution, ensuring they are fully submerged.
- Allow the container to sit undisturbed in a cool place for at least 24 hours to see the crystal formation.
- After 24 hours, take the shells out and let them dry on a cooling rack, rinsing off any excess Borax gently with water if necessary.
Last Step: Don’t forget to leave a rating and comment below! It helps other readers find the best DIY projects — and it helps us too!